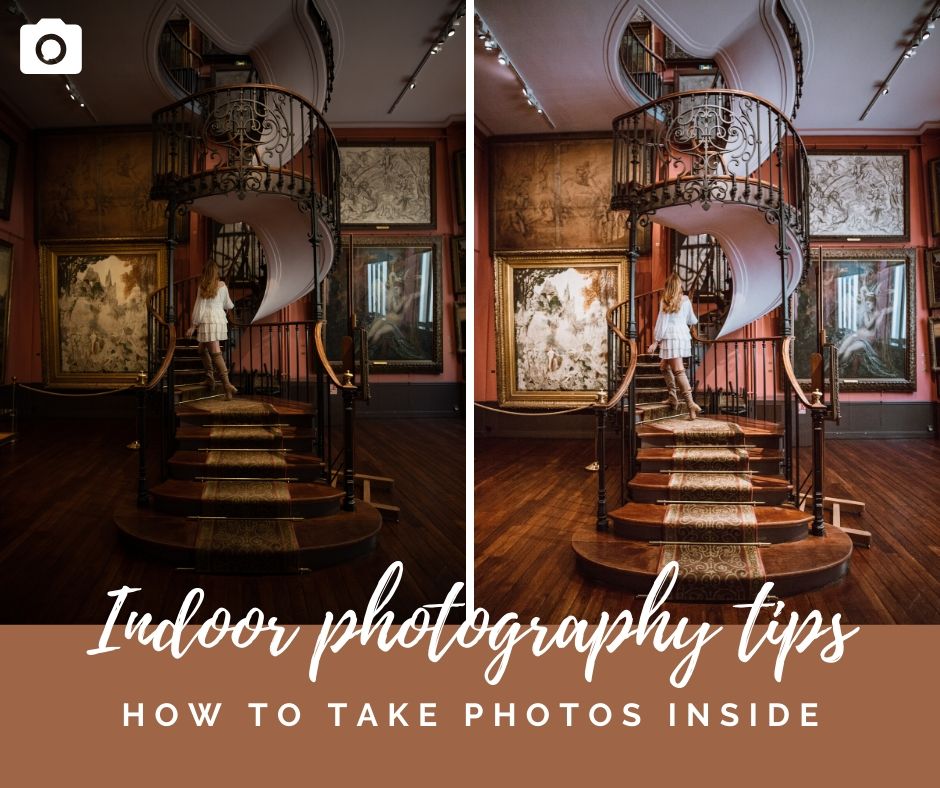
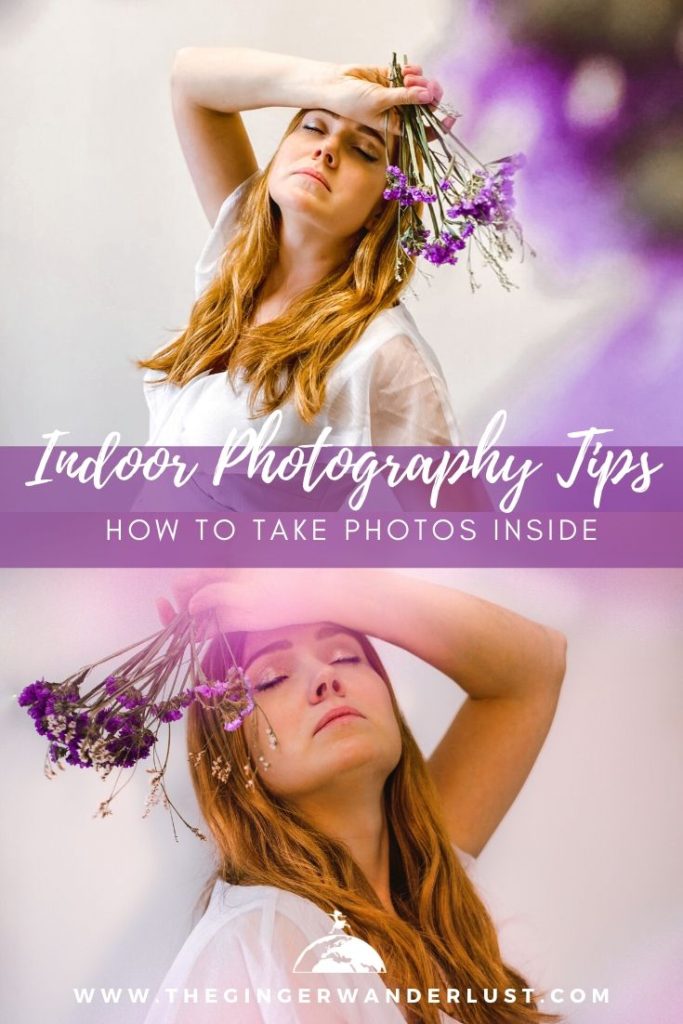
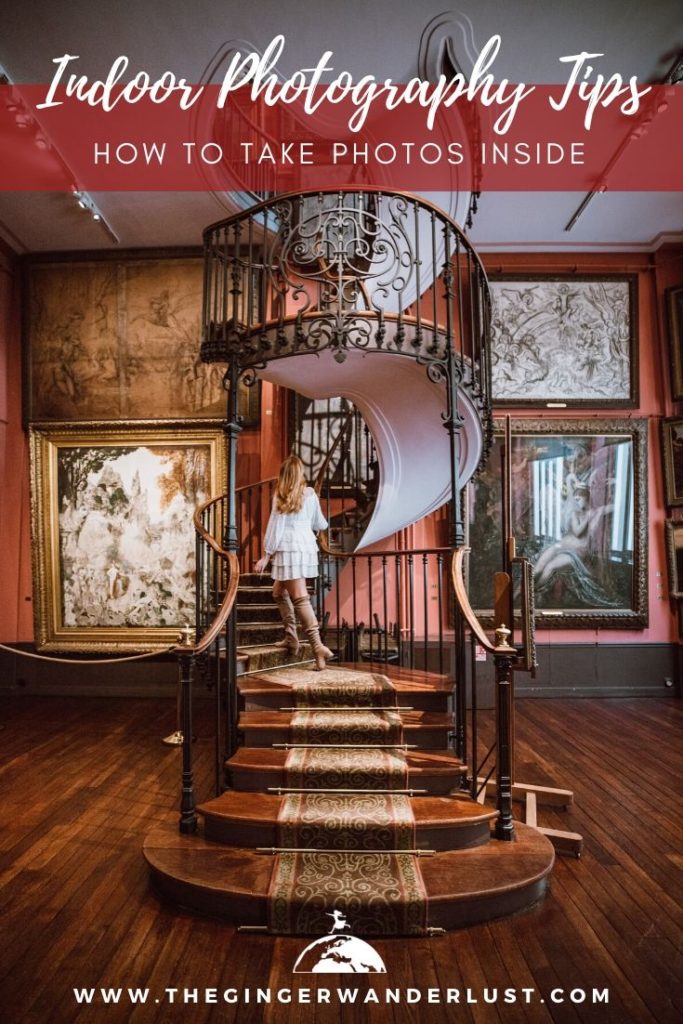
Are you currently trying to take pictures at home but struggling to make your indoor photos look crisp and professional? In this article I will share some indoor photography tips so that you can learn how to take photos inside and avoid harsh shadows, and yellow tinted pictures.
This post contains affiliate link(s). An affiliate link means I may earn referral fees if you make a purchase through my link, without any extra cost to you. It helps me to keep this little blog afloat. Thank you for your support!
What camera settings to use for indoor photography
The first step to take when shooting photos inside is to use the manual mode on your camera. This will help to ensure that you have full control over the settings and thus what the picture will look like.
1) Aperture
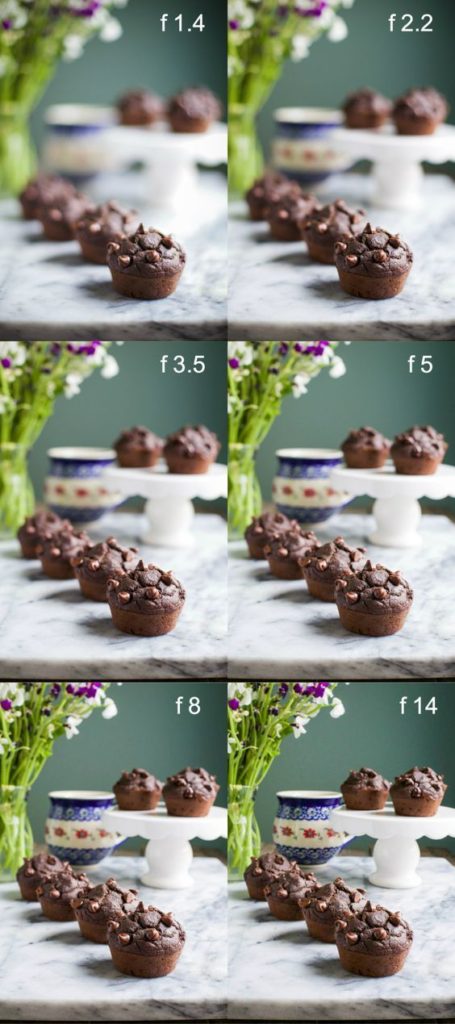
The first setting to change is the aperture. The aperture determines how open the lens is, and thus how much light is let in (kind of like how our pupils dilate). The aperture is expressed in f-numbers like f/1.4, f/2, f/3.5 etc to show the size of the lens opening; the lower the number, the wider the aperture the more light that’s let in.
In general when shooting indoors you want to maximise the amount of light you let in, so you want to set a low aperture (under f/3.5 if possible, unless you have a very naturally light room). The aperture is usually restricted by the lens. For indoor photography I like to use either my Canon 50mm 1.8 or Sigma 35mm 1.4.
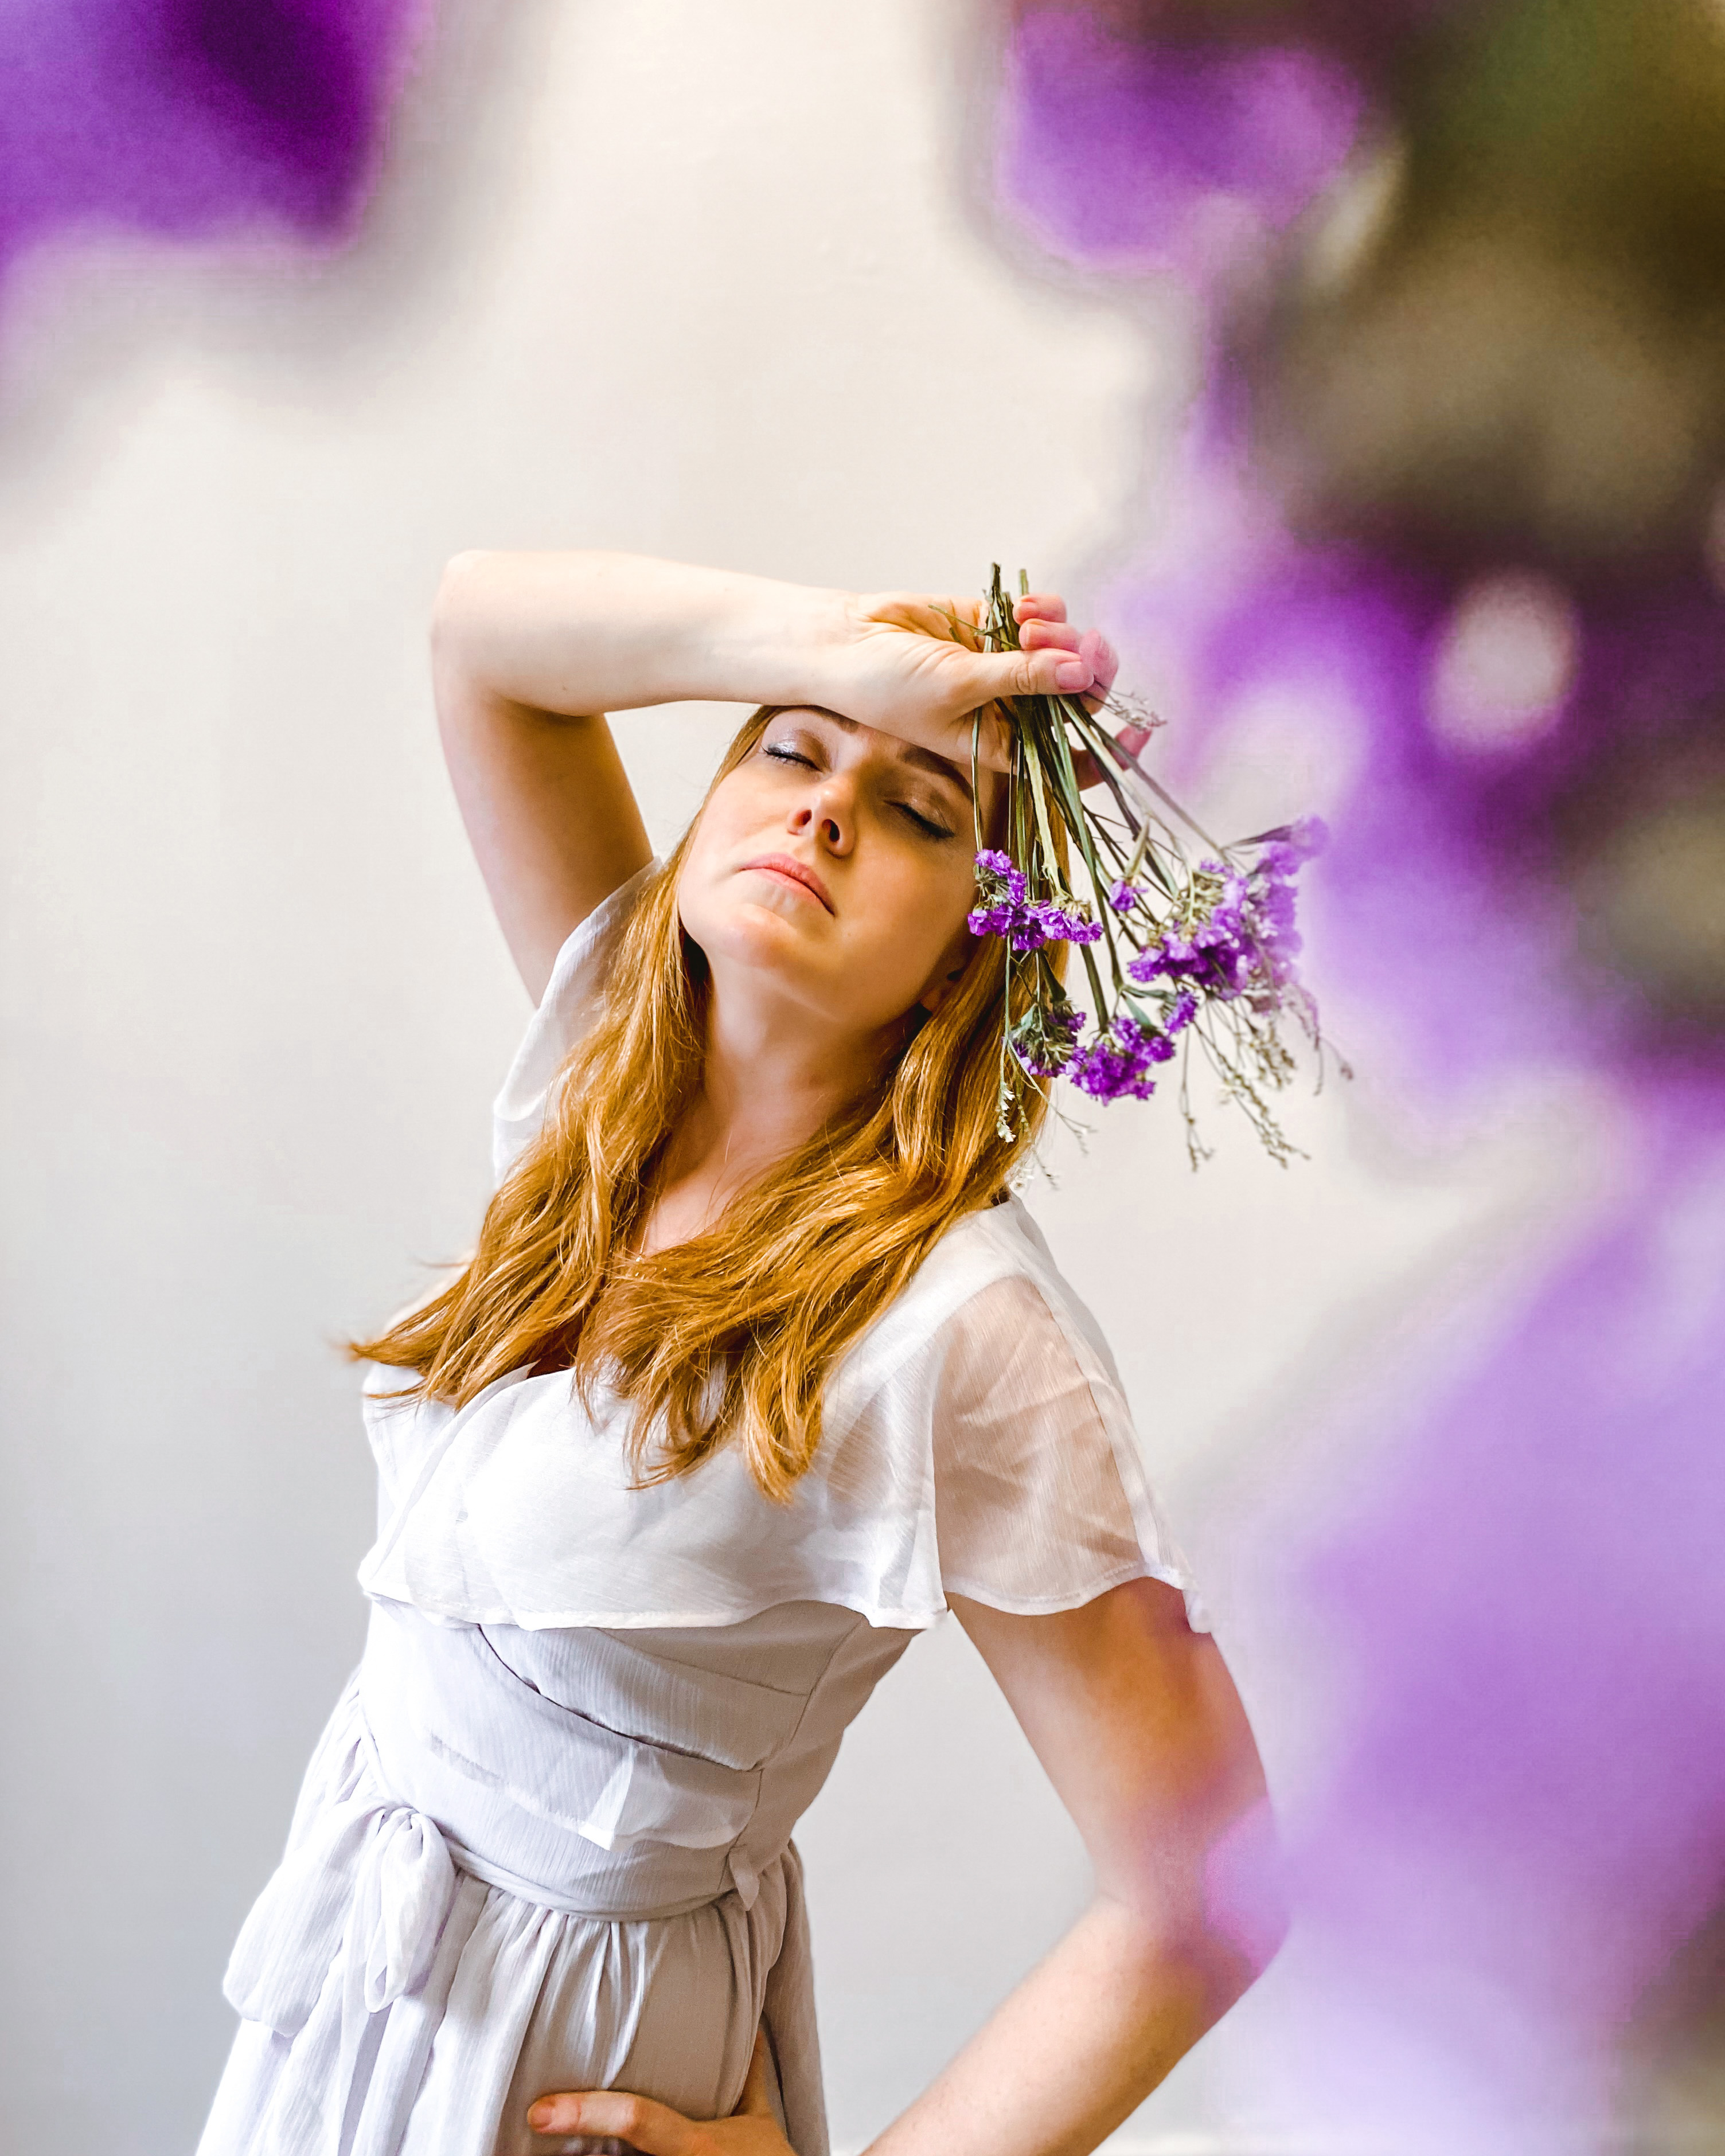
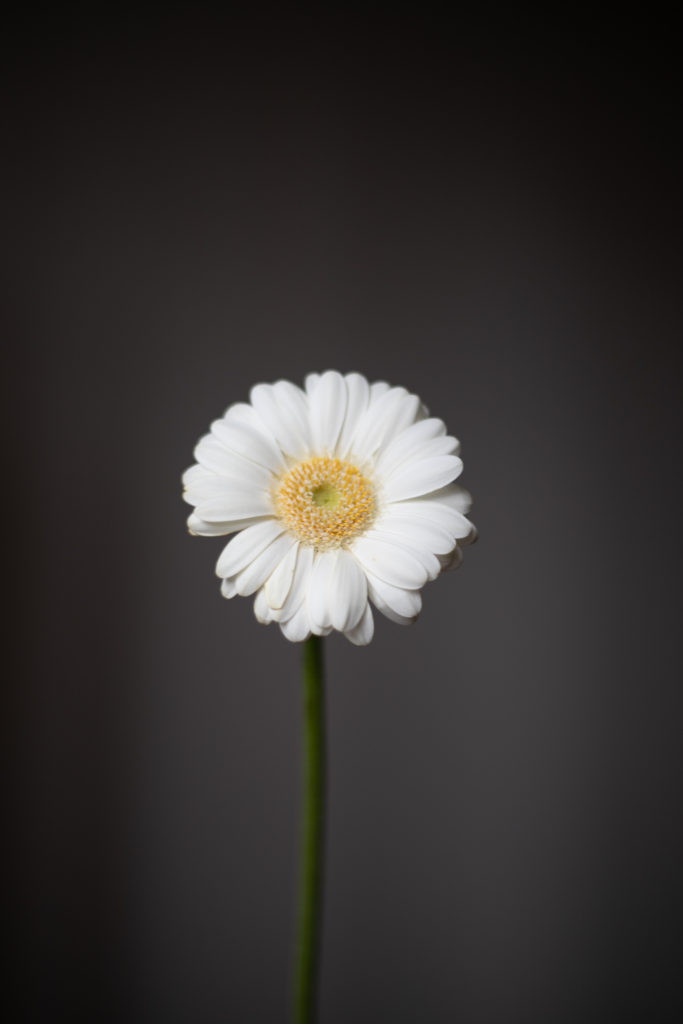
A low aperture will also give a nice depth of field to your picture. Meaning that the subject will be in focus, whilst the background is soft and blurry (see below).
2) ISO
The next camera setting to consider when taking photos inside is the ISO. ISO is the digital equivalent to film speed. The faster the film speed the more sensitive it is to light.
In general you always want to shoot using the lowest ISO possible. As a photo taken at too high of an ISO will show a lot of grain, also known as noise, and might not be usable. I would avoid going over ISO800.
3) Shutter speed
The last setting to adjust is the shutter speed. This determines how fast the picture is taken, and thus how much light is let in (kind of like blinking). The slower the shutter speed the more light that is let in. However you don’t want the shutter speed to be too low (especially if you’re holding the camera) as the subject or picture might be blurred. In general I would stay above 1/100.

1/250 f/1.8 ISO100 
1/100 f/5 ISO320 
1/100 f/9 ISO640
Have a look at the images above to see what a difference the settings make to the picture. All of the settings are linked so if you lower the ISO to have a more crisp image (meaning less light), you will need to decrease the aperture or shutter speed to make up the extra light. The best thing to do is to play around with the settings, practice makes perfect!
Indoor photography tips
Now that you understand the camera settings and how to set it up for an indoor photoshoot you are ready to start taking pictures! Here are my top indoor photography tips on how to take photos inside.
1) Find the best spot in your house to shoot
There will be certain places in your home that work better in photos than others, not just for the aesthetic, but the way the light is processed. You should think about:
- Where is there the most amount of natural light?
- What time of day is best? (what direction are your windows facing?)
- Do you have a space with more mirrors that might help to boost the available light?
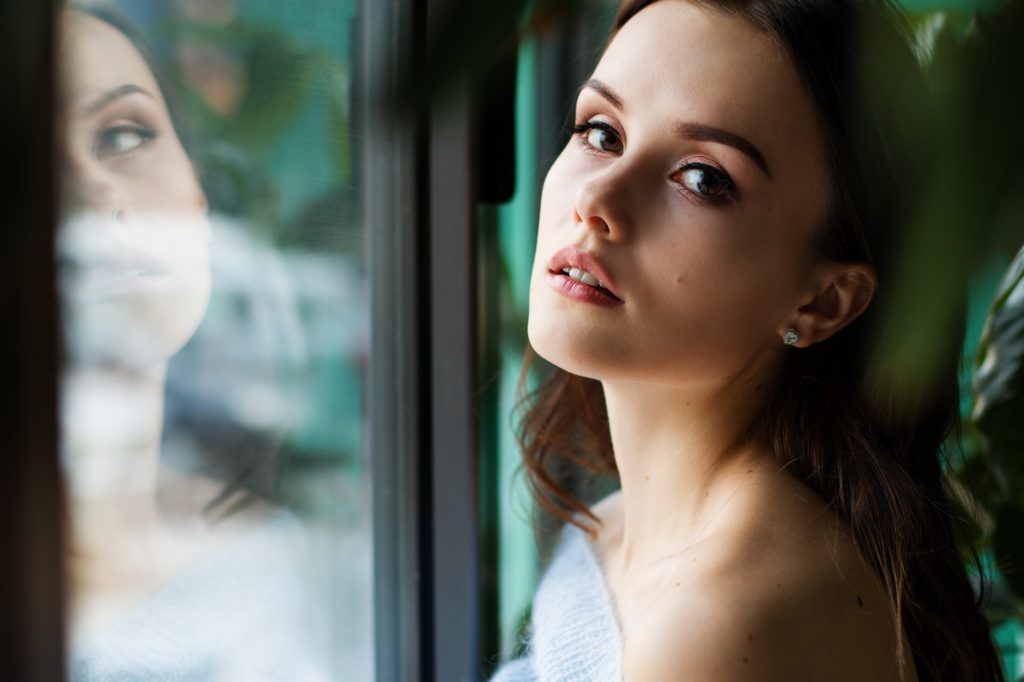
2) Place the subject near the window
As someone who avoids flash photography, I always try to make the most of the available natural light. This means that when taking photos inside I tend to be near a window, with the subject facing the light.
If you’re shooting near the window you might want to get creative and play with the shadows and light. Why not use some lace as a prop to create an interesting pattern on your subject?
3) Use a light catching backdrop
Another way to boost the natural light in your indoor photos is to use a light catching backdrop. Ideally this will be white. You can easily use a plain white bedsheet near a window to catch the light.
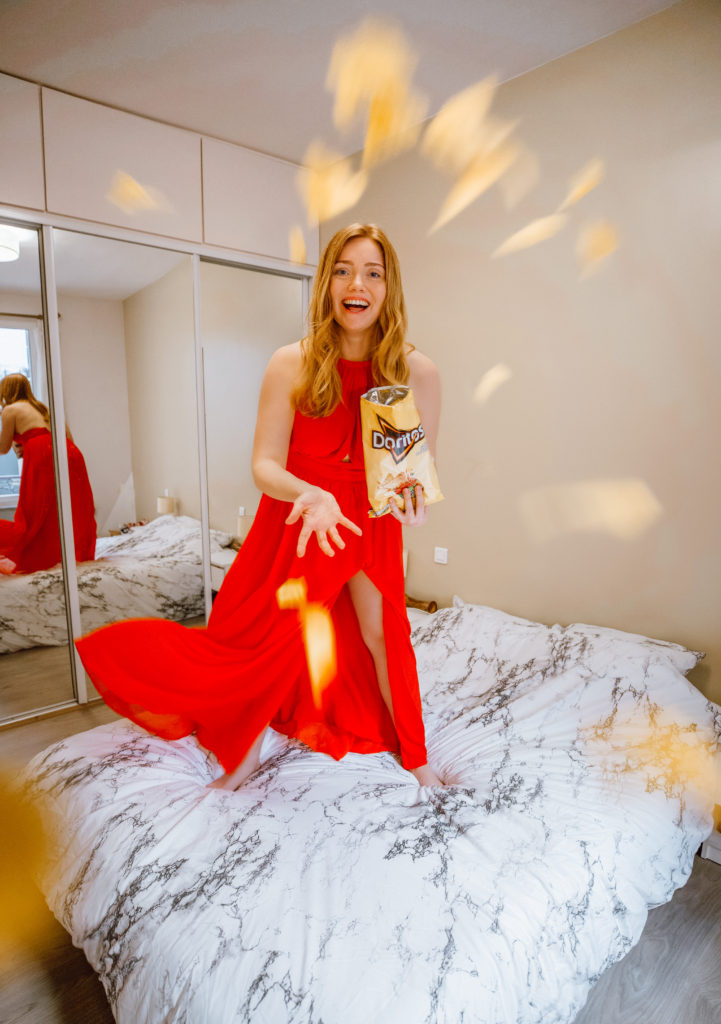
4) Use mirrors to control the natural light
Mirrors are a great way to boost the natural light in your photos, especially if they face the window. They make a great prop within the photo too!
5) Turn off the lights
In general natural light mixed with artificial light doesn’t look good in photos. This is because both light sources change how colours are portrayed within your pictures. Electric lights can affect your white balance, and make your photos appear more yellow. By turning off the lights and only using natural light you ensure that the colours within your photo are streamlined, and thus more attractive!
6) Use a camera
Mobile camera technology is definitely improving however I still find that mobile cameras struggle taking photos inside (especially if your home isn’t very bright). You can definitely still create great images inside with your phone, however they won’t look at professional as a camera.
Scroll down to see what equipment I use for indoor photography.
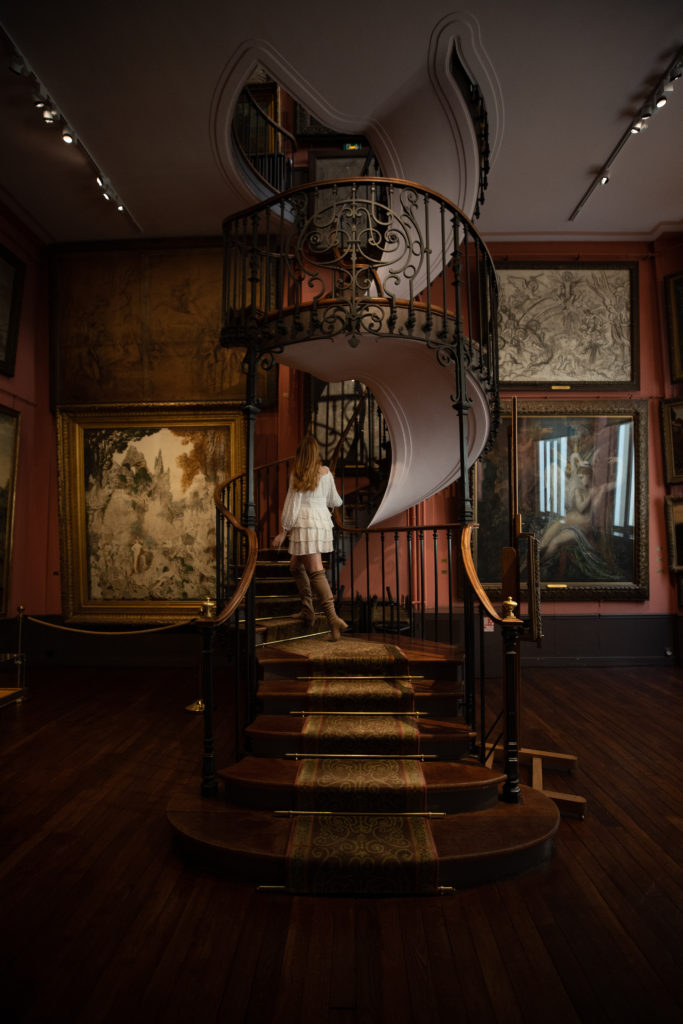
Shot on iphone 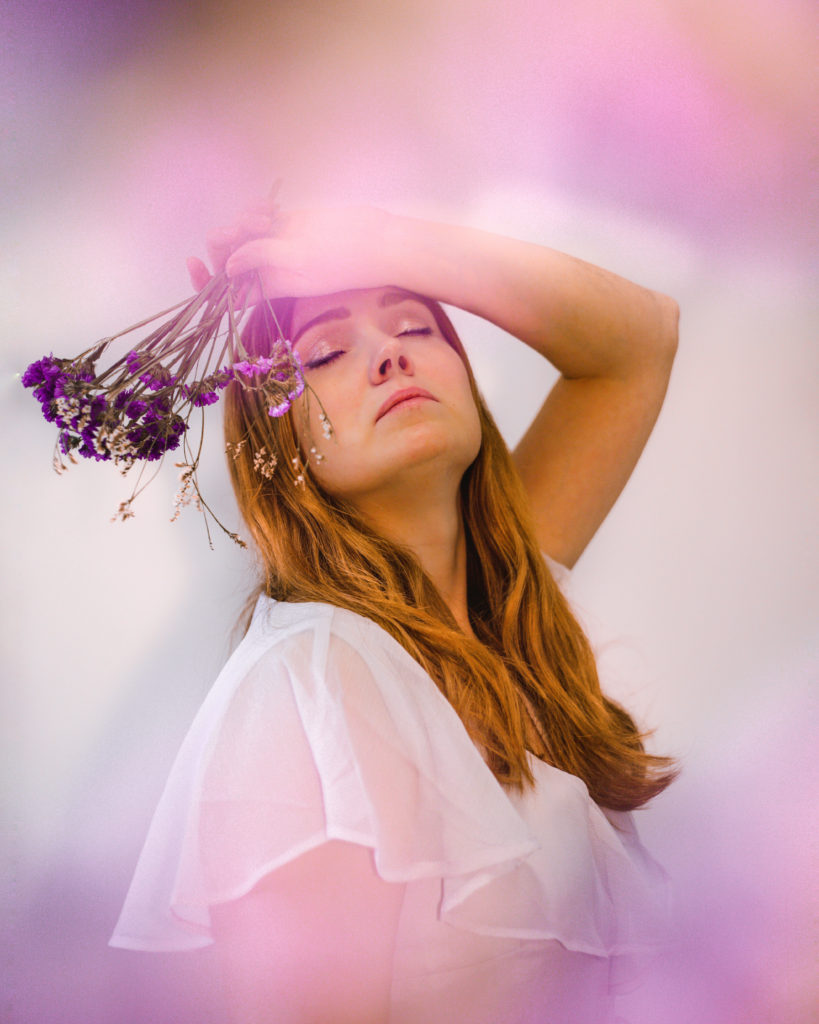
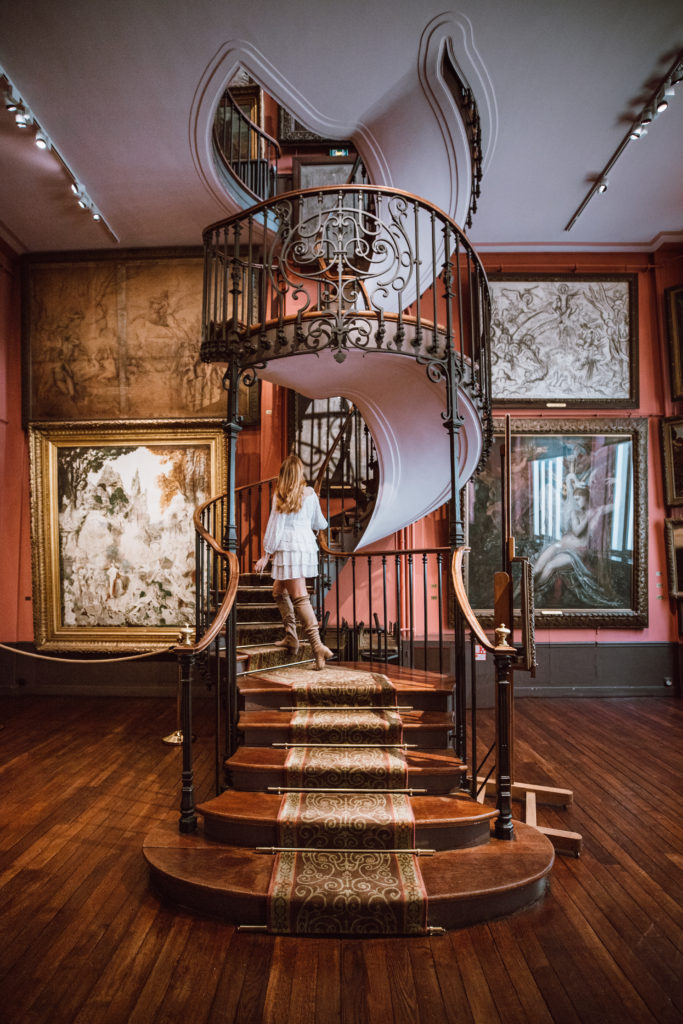
Shot on Canon 6d mark ii
7) Shoot in manual mode
One of my number one indoor photography tips is to shoot in manual mode. This way you have complete control over the light and how your pictures look. Scroll up for more information on what camera settings to use for indoor photography.
8) Choose your White balance
Another camera setting to play around with is the White balance. The White balance is the process of removing unrealistic colour casts, so that objects which appear white in person are rendered white in your photo.
You know how your indoor photos tend to appear yellow? This is usually due to artificial light. You can offset this by changing the White balance. In general the Auto White Balance (AWB) works quite well, however sometimes Daylight or Cloudy look best on skin tones. Try them all and see what works best for the light around you.
AWB 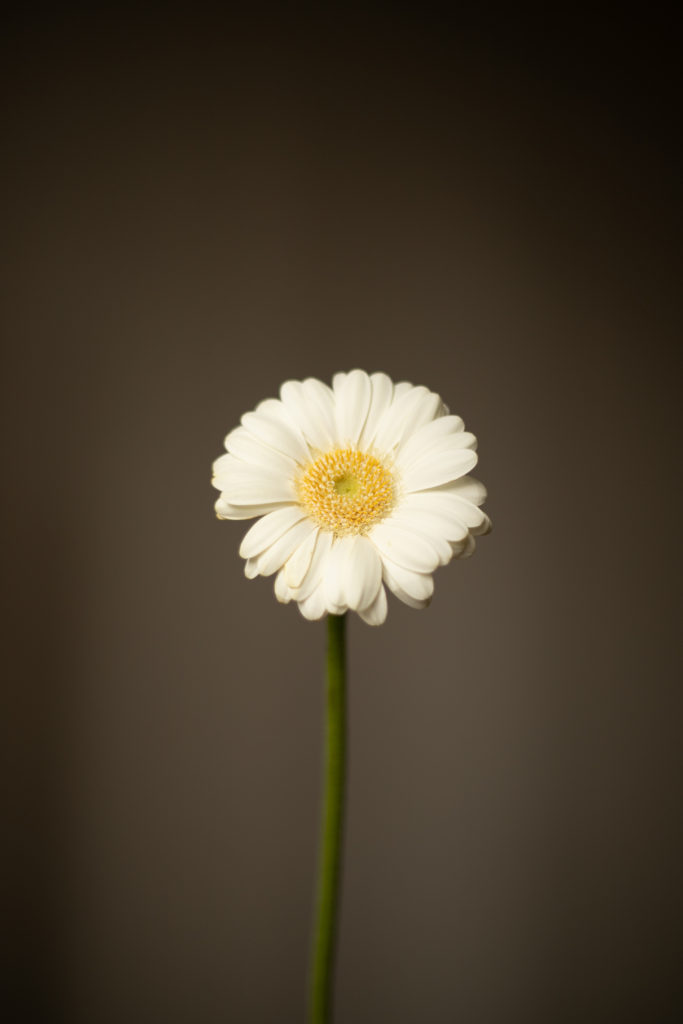
Daylight 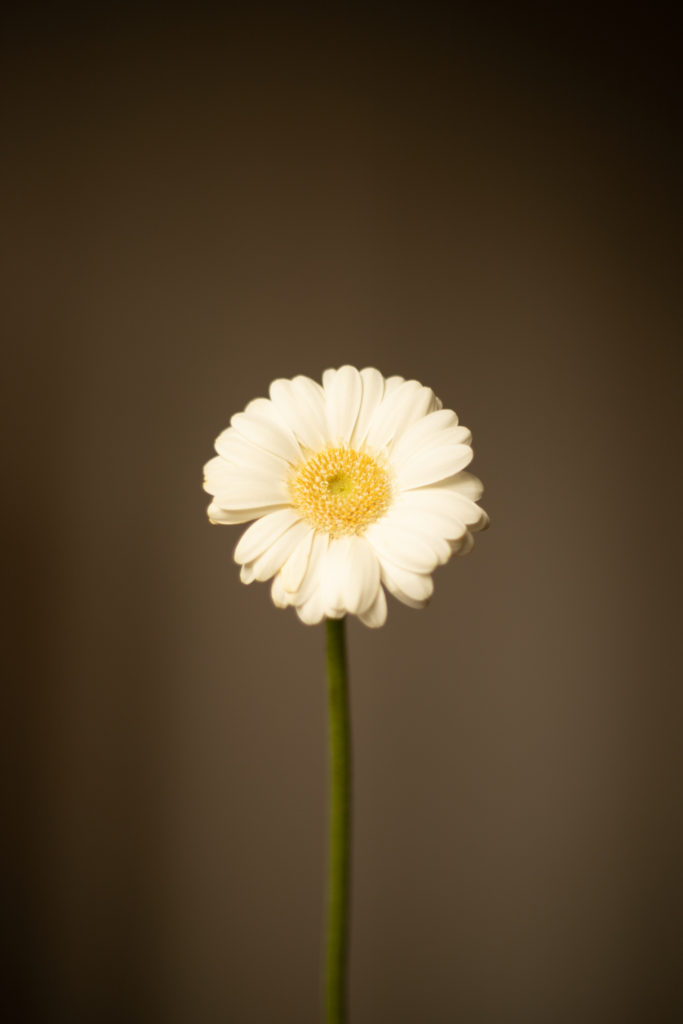
Cloudy
9) Shoot in RAW
When taking photos there are two file formats you can create, RAW or JPEG. When shooting a JPEG image information is compressed and lost, whereas RAW files aren’t actual images so no information is compressed and they are able to retain more detail.
RAW files produce higher quality images giving you the opportunity to correct photos that would be unrecoverable if shot as a JPEG. However if you shoot in RAW you will have to edit the picture in order to create an image.
10) Lights
If you are still finding it hard to shoot clear photos using natural light you might want to invest in some professional lights. I would recommend softbox studio lights. If you’re shooting product photography you might want to invest in a photo light box.
11) Edit your photos
An important step to improve your indoor photos is editing! I use my editing presets in Lightroom to boost the light and colours. Use my guide to Lightroom to find out how to make the most of your photos. Subscribe to my blog newsletter to get my FREE Lightroom preset ‘Happy Home’.
Moreover you might also want to use Photoshop or mobile apps to change the background or add fun layers to the picture.
What equipment to use for indoor photography
I would recommend using a professional DSLR camera for your indoor photos with a lens that has an aperture of around f/2.8 or lower. You can find links below for the exact equipment I use for my indoor photoshoots.


In conclusion when taking photos inside you need to think about what equipment you’re using, the camera settings, where to find the best natural light and how you can boost that natural light.
I hope that my indoor photography tips have helped you to learn how to take photos inside. Make sure to check out my home photoshoot ideas for inspiration on creative photos you can take at home.
Learn more about photography and composition with my ebook on how to take better photos (for Instagram).
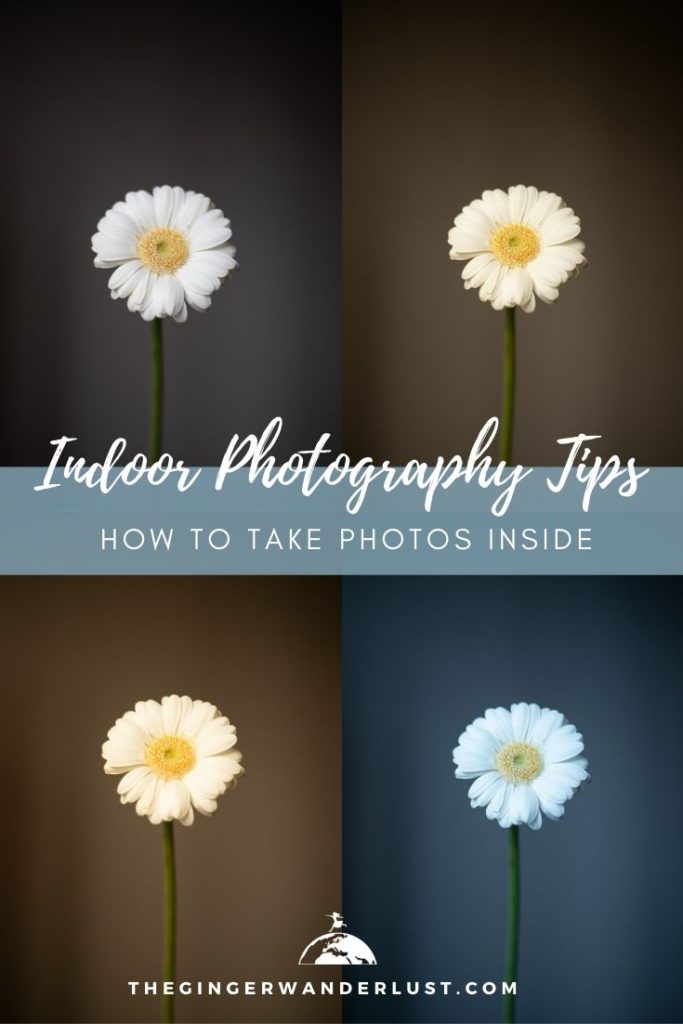
Like this post? Pin it to save for later!


1 Comment
Lisa
June 8, 2020 at 10:16 amWhat a gorgeous idea! The photographs were beautiful, they were stylized entirely, and images turned out extremely good, I’m fully inspired.