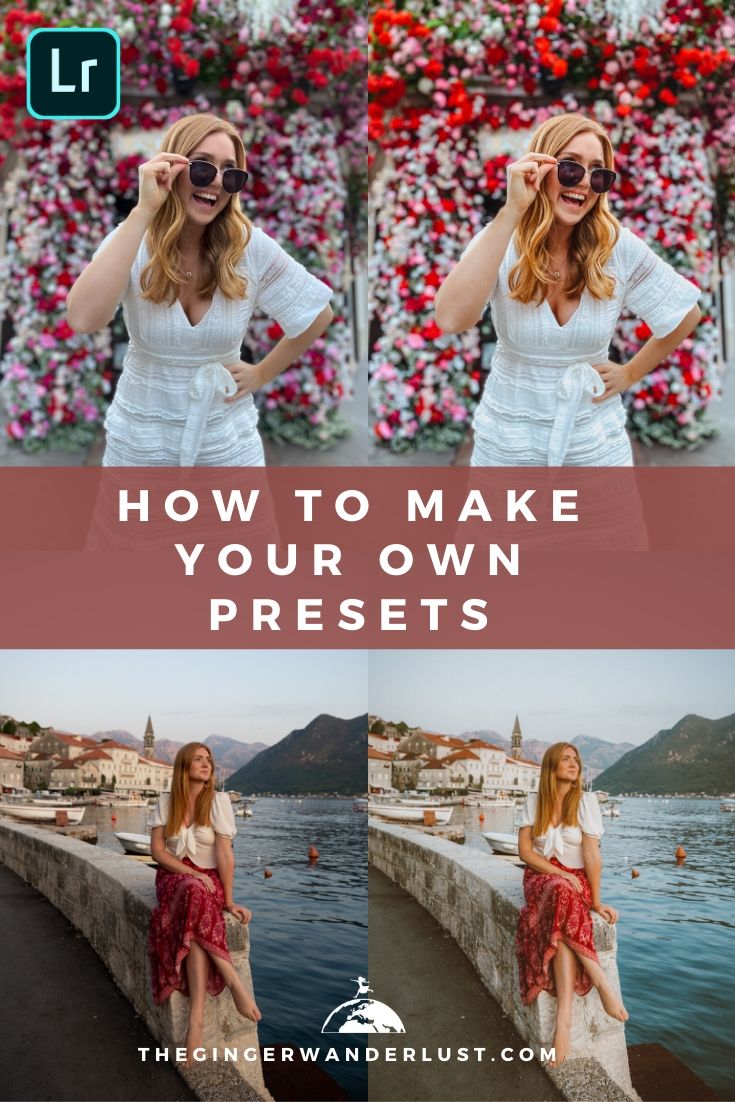
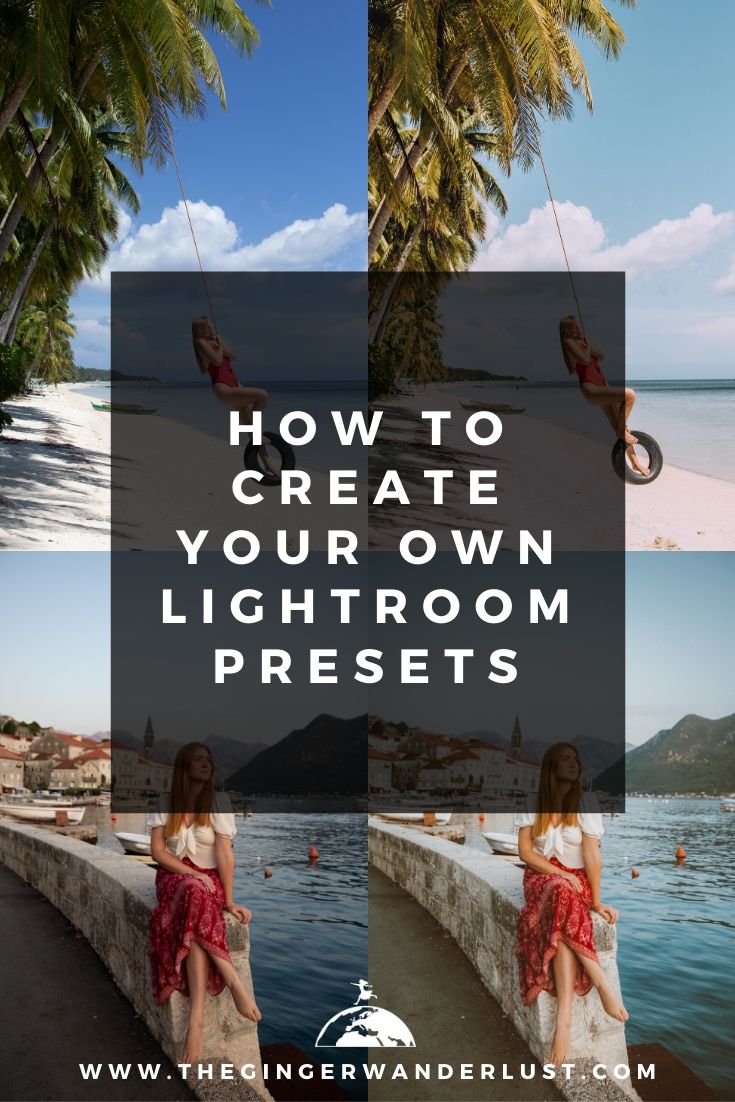
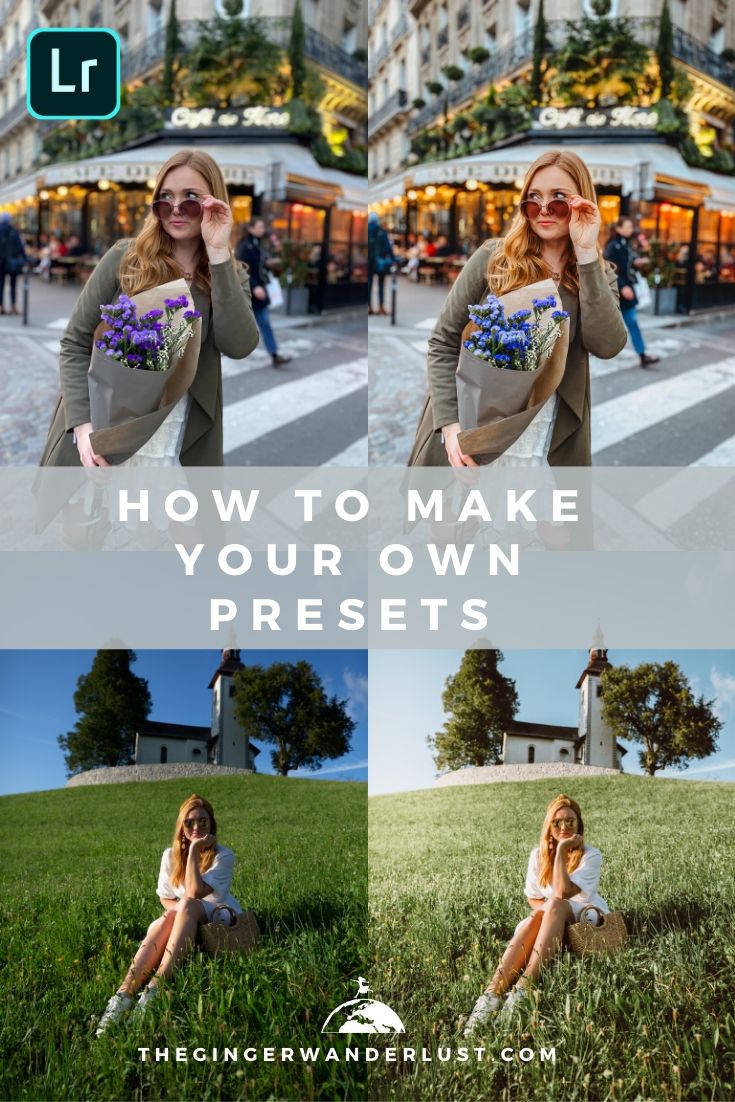
Lightroom is a photo editing software available for both desktop and mobile. It is easy to use, once you understand all the different tools, and is a great way to make your photos look more professional. In Lightroom you can create your own filters, these are called “presets”. You can save the editing adjustments that you make (as a preset), so that you can then apply them to another photo. Presets help you to create a uniform look across all of your photos, as well as speed up the editing process. In this article I will explain how to make your own presets in Lightroom (for both desktop and mobile).
The Lightroom mobile app is free to download (on both iOS and Android) but you will need a subscription to use the the desktop version. I am subscribed to the Adobe Photography Plan which gives me access to both Lightroom and Photoshop for €9.99 a month.
How to Make Your Own Presets in Lightroom Classic for Desktop
Step 1 – Decide what editing style you like
The first step to creating your own preset is to decide what editing style your like.
Ask yourself:
– Do you like light and airy or dark and moody photos?
– Would you like warm or cold photos?
– Do you like a vintage matte look or bright and defined?
– How do you like the colours to look? (saturated or muted?)
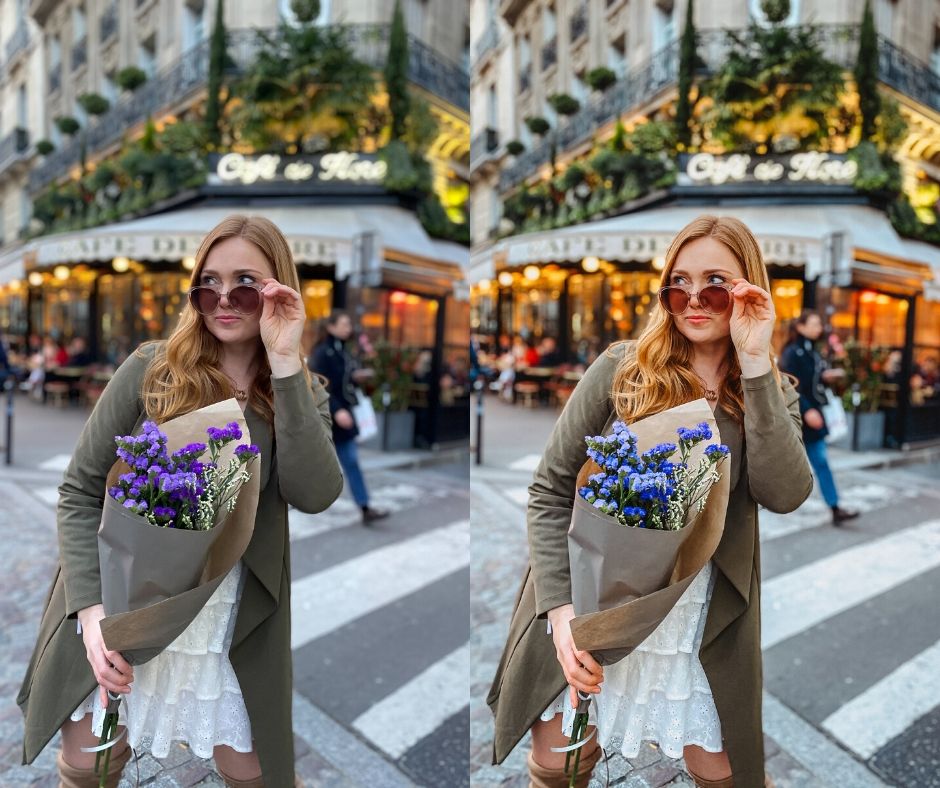
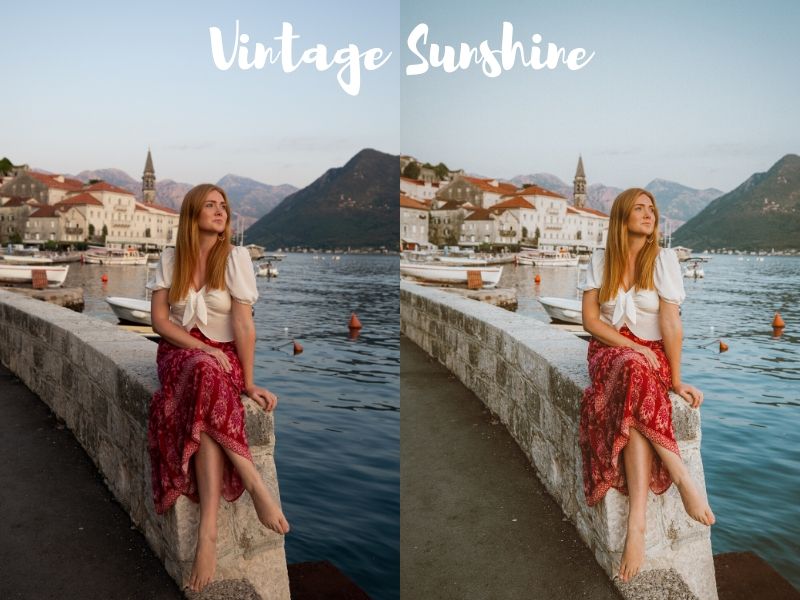
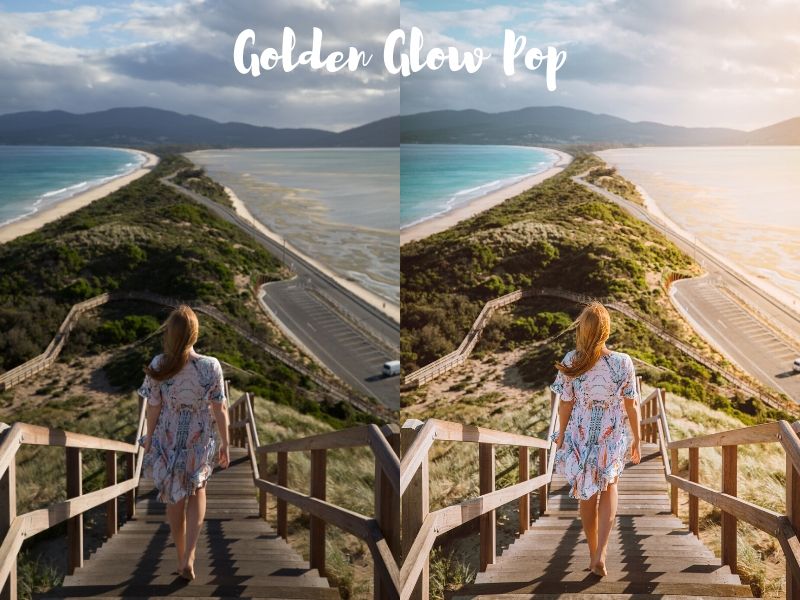
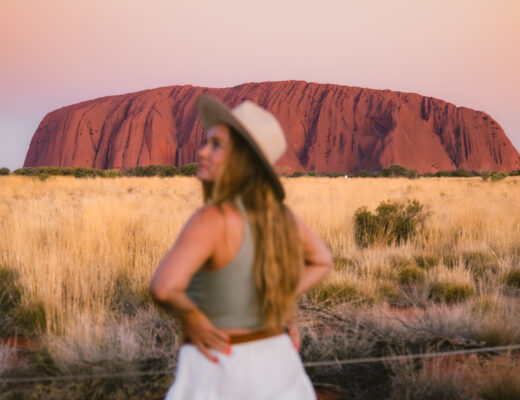
Popular editing styles include Vintage and Pastel. Personally I love bright, warm and colourful photos, with a slight vintage look! After years of practice I was able to create my own presets that perfectly reflect my favourite editing style. My presets help me to achieve a unique aesthetic for my Instagram and make it look more streamlined. You can have a look at some of my edits below and on @gingerpresets.
Step 2 – Edit a photo
The next step to creating your own preset is editing a photo of your choice. Import your picture into Lightroom Classic and start playing around with the different tools on Lightroom. If you are new to Lightroom you might want to check out my guide to editing on Lightroom.
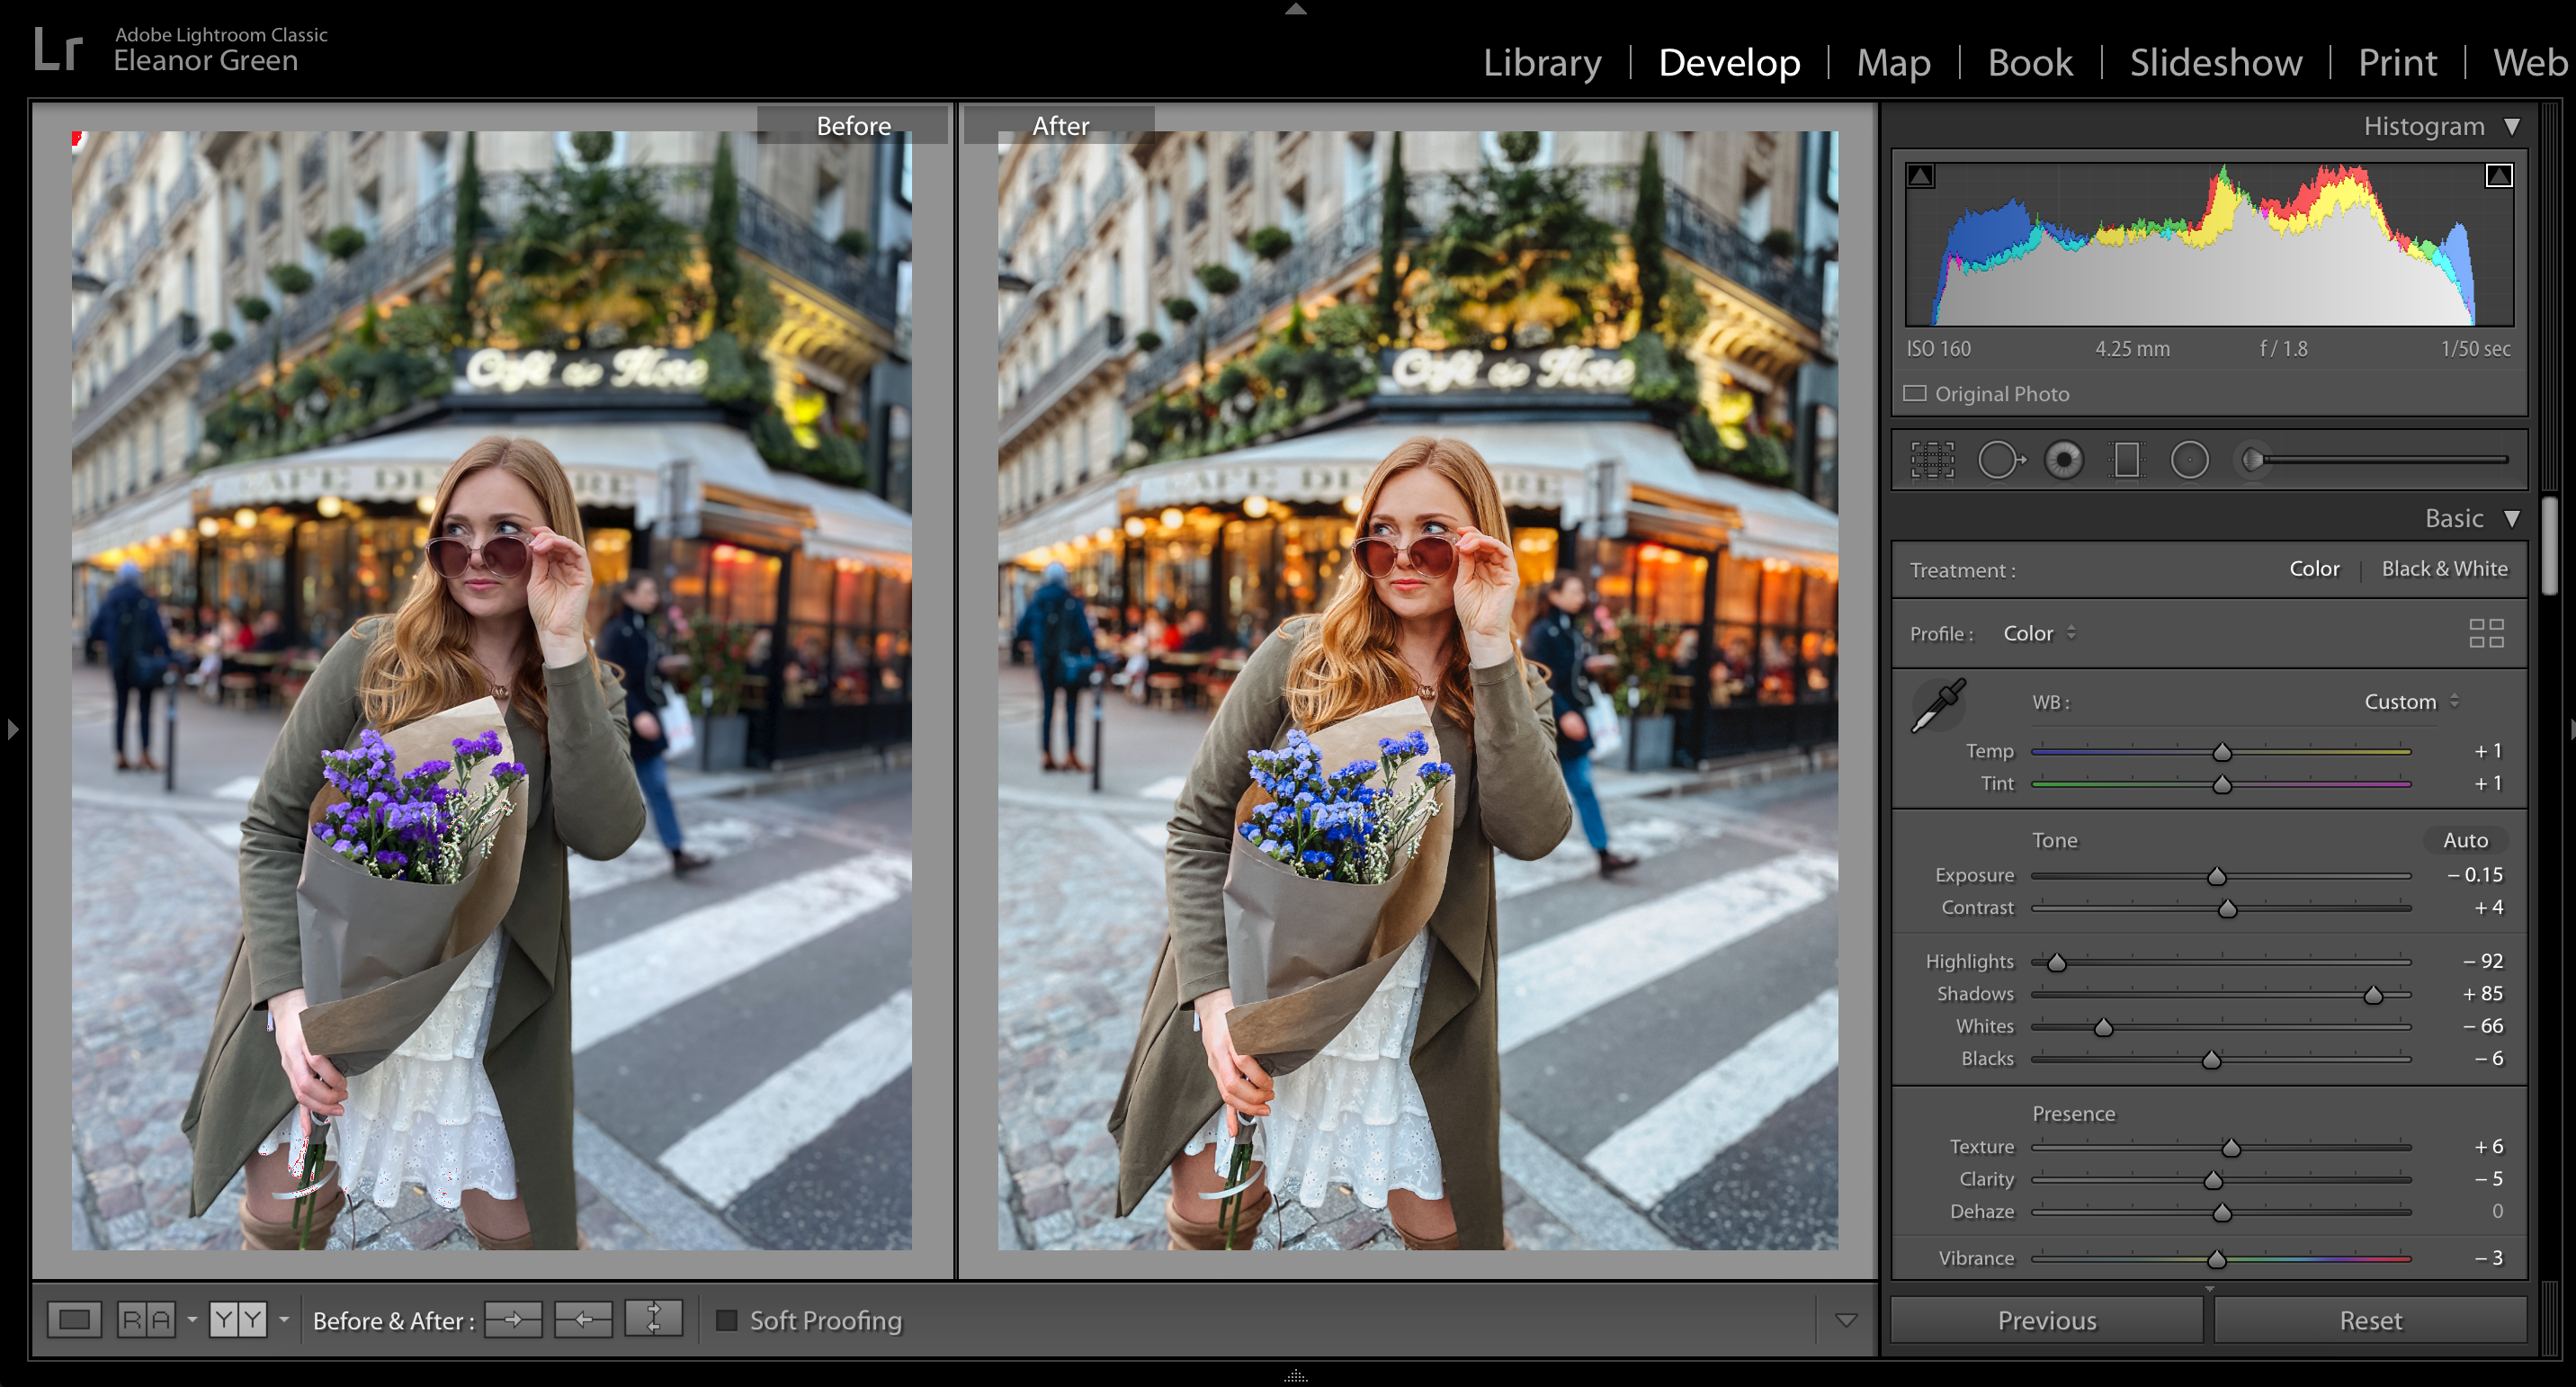
Head to the right hand side in ‘Develop’ and play around with:
– Basic settings (alter the light)
– Tone curve (change how the light looks)
– Color (change the hue, saturation and luminance of each color)
– Split toning (add different colours to the highlights and shadows of a photograph)
– Effects (add a vignette or grain)
– Camera calibration (change how the colours look)
If you are unsure where to start with your presets then I suggest checking out presets created by other established influencers (you can find mine in my shop, I even sell individual presets if you only want one as an example). Or check out my ebook on How to Take Better Photos to learn how to create a preset that gives your photos the same feel.
Step 3 – Create a preset
Once you are happy with the editing settings it’s time to save your adjustments and create your own preset!
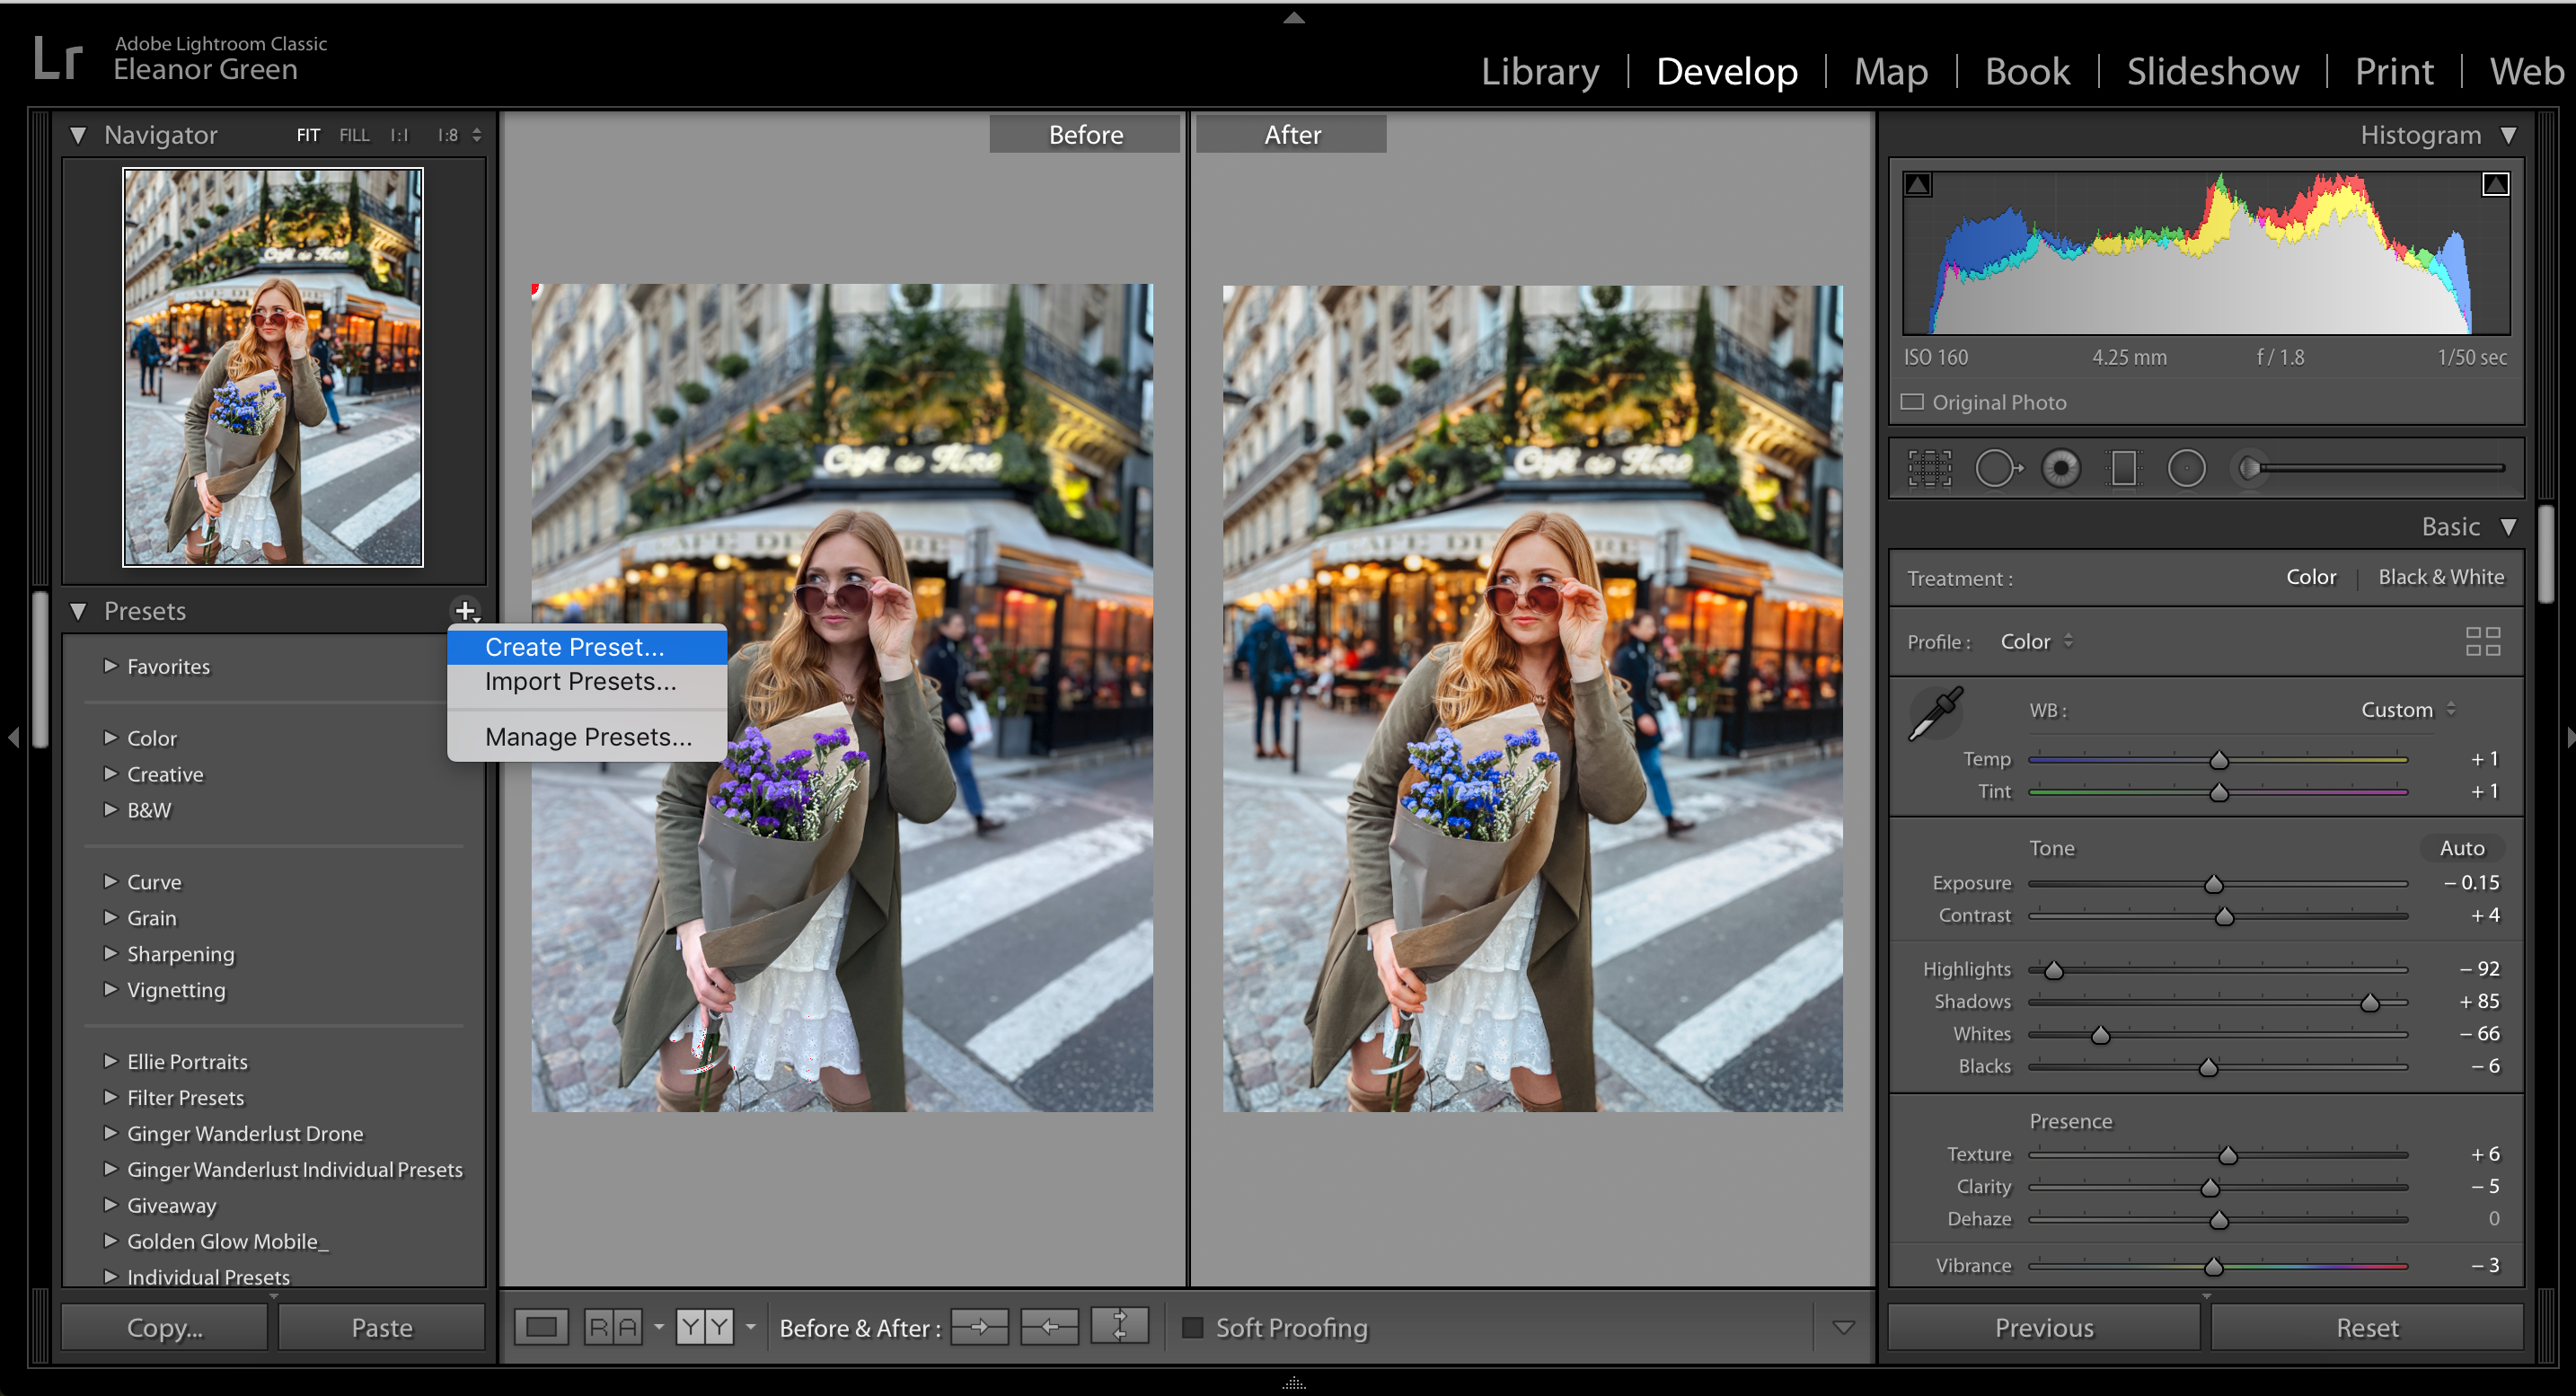
- Highlight the picture you have edited.
- Click the plus sign (+) on the left hand side of Lightroom Classic (see below).
- Select ‘Create Preset’.
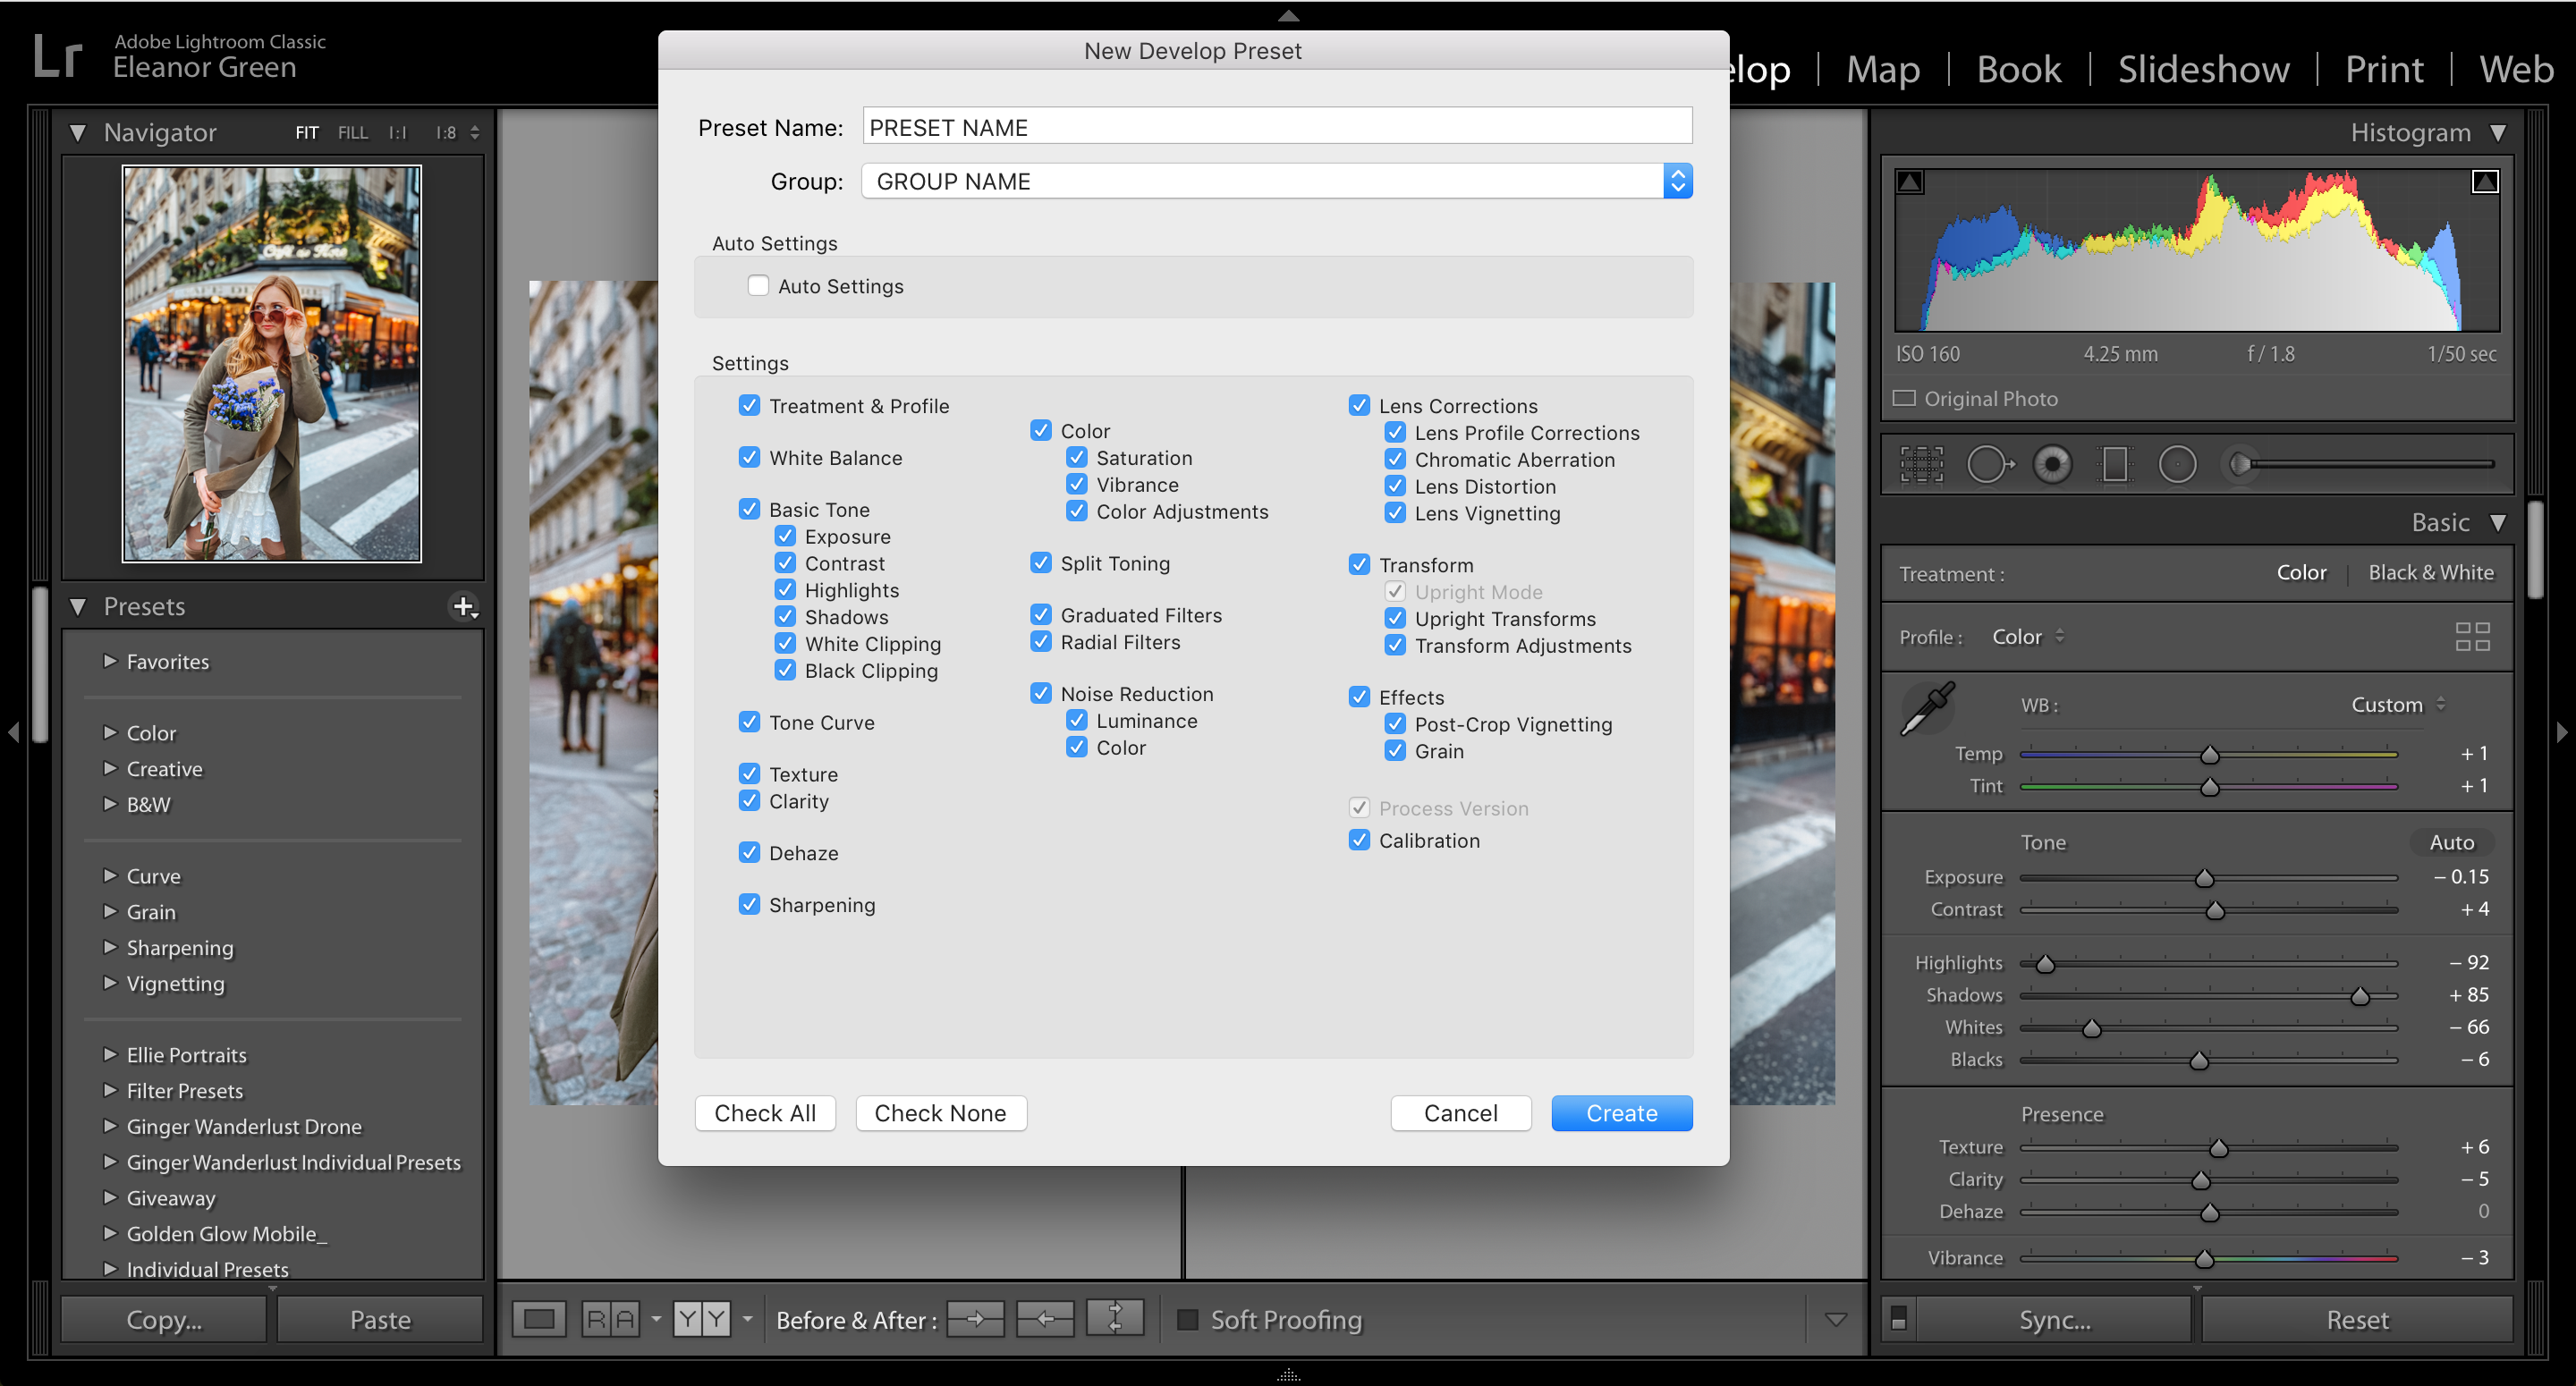
- Fill in the preset name and what ‘group’ (folder) you want to save it in.
- Make sure everything is ticked and click create! (see below)
Hey presto, you’ve created your own preset! I would recommend trying it out on other photos to make sure it works on more than one picture. Open another photo and click on the preset to apply it (you will be able to find your preset in the left hand column). Make any necessary tweaks to the edit and save this change. Repeat this process with a few different pictures until you have a preset you’re proud of!
How to Make Your Own Presets in the Free Lightroom App
Download the free Lightroom mobile app on either iOS or Android. You don’t need a subscription to create presets!
Step 1 – Edit a photo
Once you’ve followed step 1 above, upload a picture into the free Lightroom app. Play around with the different settings to get your desired edit. Check out step 2 above if you need some help.
Step 2 – Create a preset
Once you are happy with the editing settings it’s time to save your adjustments and create your own preset!
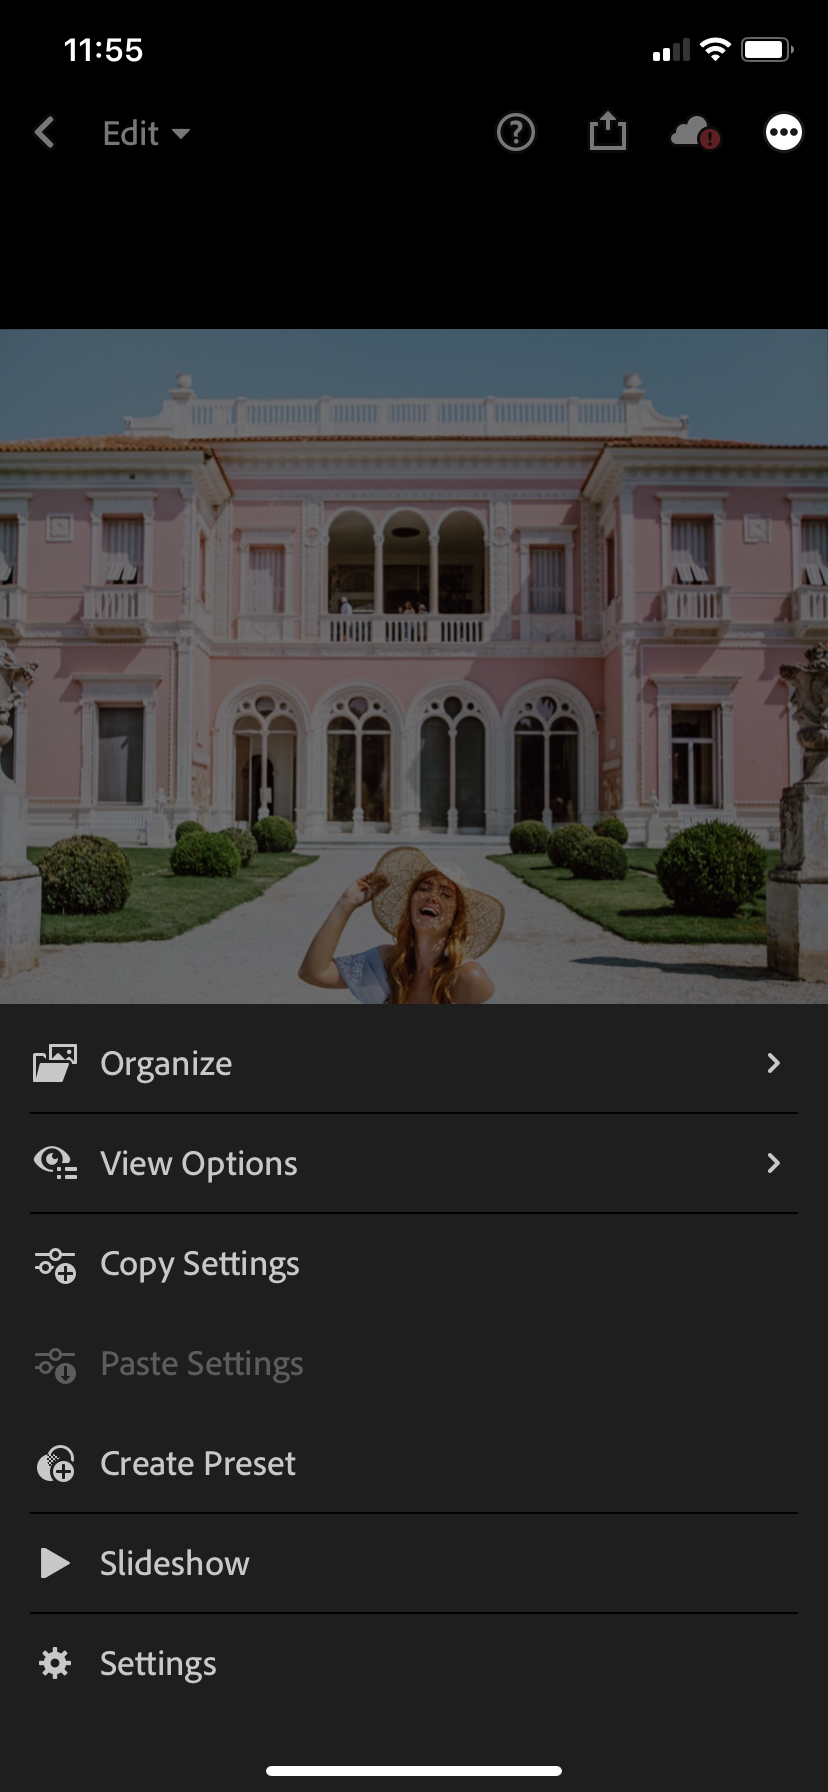
- Click the 3 dots in the top right hand corner.
- Select ‘Create Preset’.
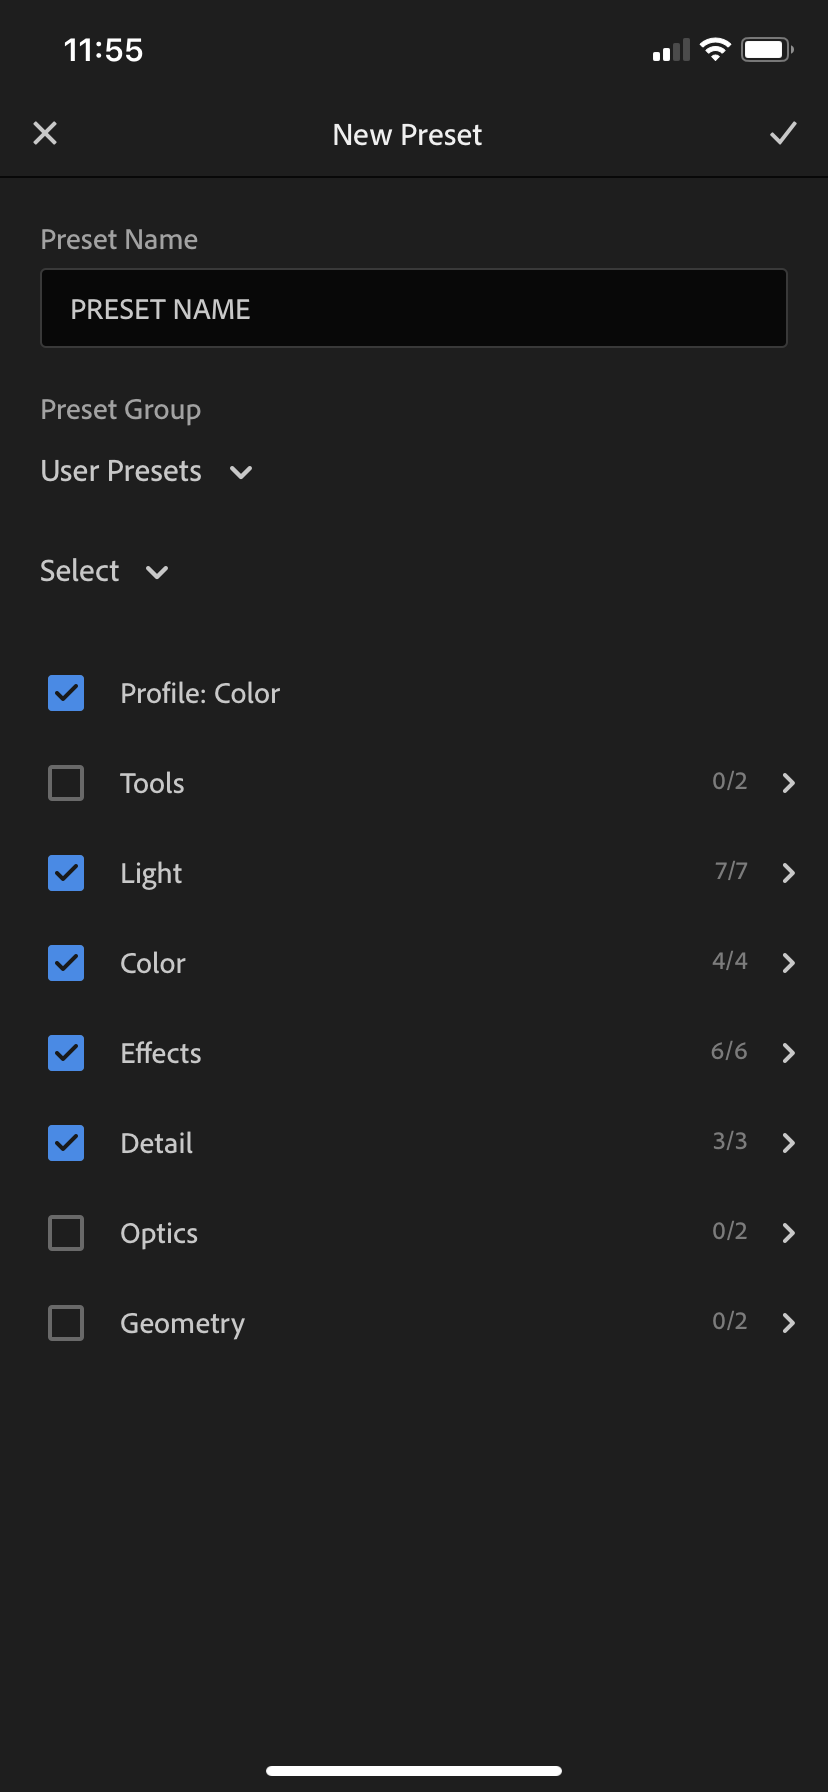
- Fill in the preset name and what ‘group’ (folder) you want to save it in.
- Click on the tick in the top right hand corner.
Hey presto, you’ve created your own preset! Make sure you try it out on other photos to make sure it works on more than one picture. Open another photo and click on the preset to apply it. You’ll find the presets on the bottom menu to the far right.
I hope you enjoyed my step to step guide on how to make your own preset on Lightroom. Lightroom is my personal favourite photo editing software, and it’s the most popular one for Instagrammers. This is because it is easy to learn how to use and it allows you to manipulate colours. You will need a subscription to use Lightroom on your desktop, or you can use it for free in the app (you just can’t use all of the tools). Lightroom presets will help you to quickly edit your photos and maintain a uniform look.
If you are having trouble with creating a preset that works on multiple photos then I would recommend purchasing presets created by other established influencers (you can find mine in my shop, I even sell individual presets if you only want one as an example).
Like this post? Pin it to save for later.
1 Comment
jdschok
April 25, 2020 at 5:33 amThanks for sharing your knowledge, Bless you.