If you are looking to do one of the best hikes in Norway, then you need to do the Trolltunga hike! One of Norway’s most iconic rock formations, it is a must-do for hikers looking for a thrilling adventure and incredible views.
Known for its breathtaking panoramic view over Lake Ringedalsvatnet, Trolltunga attracts hikers from around the world, eager to stand on the famous rock, or ‘trolls tongue’, jutting out from the mountain. It’s also a bit confusing to work out where to park though!
In this guide, I’ll walk you through the essentials of planning your Trolltunga hike, parking and camping options, and transportation tips, making your adventure as seamless as possible.
First thing you need to know is that there are three different parkings for Trolltunga. Where you park will then affect how long you hike for, or what public transport you might want to take. Below is an overview for the Trolltunga hike.
Distance to Trolltunga: 20 km return hike
Ascent: 320 m
Total ascent: 800 m
Estimated hiking time: 6–10 hours, round trip (it took us 3 hours to hike one way)
Season for P3: 1 June – 29 September
Distance to Trolltunga: 27 km return hike
Ascent: 800 m
Total ascent: 1200 m
Estimated hiking time: 8–12 hours
Distance to Trolltunga: 38 km return hike
Ascent: 1040 m
Total ascent: 2000 m
Estimated hiking time: 15 hours
June to September for optimal weather conditions. I recommend being flexible with when you can hike Trolltunga, so that you can change days if the weather is bad.
The Trolltunga hike is fairly challenging, but not as extreme as some descriptions suggest. I originally read that it was extremely difficult, but I don’t agree. As long as you have a decent level of fitness, proper hiking equipment, and bring enough food and water, most people can tackle this hike.
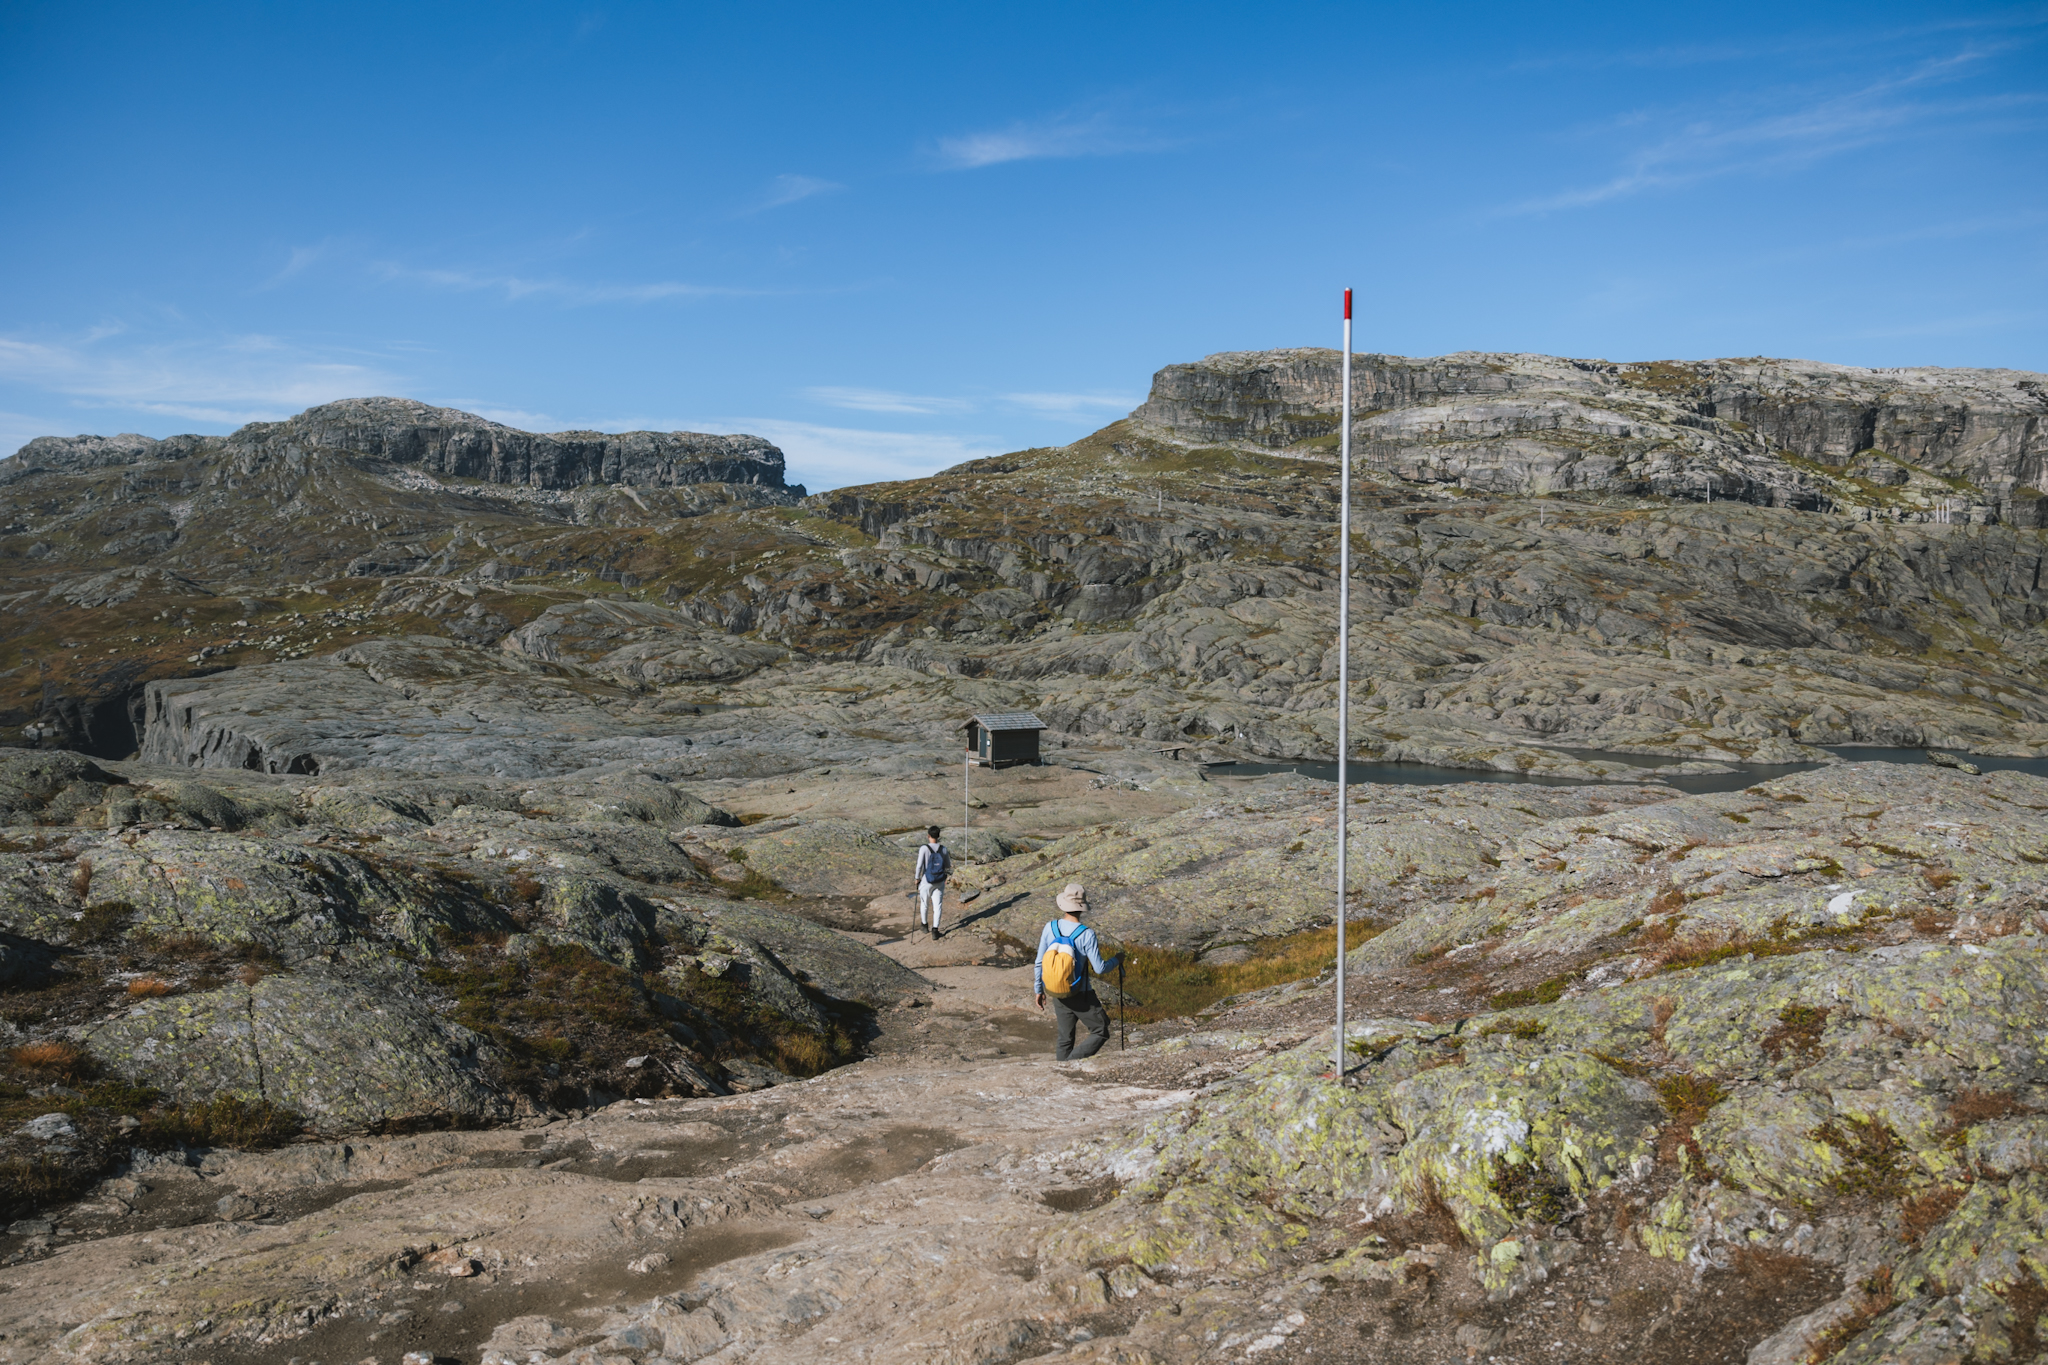
The trail is well-marked with poles, making it easy to follow, and from P3, the round trip takes about six hours. While there is a steep incline early in the hike, it’s manageable. Once you get past this, the rest of the trail is relatively flat and easier to navigate.
The starting point for the hike in P3 is about a 30 minute drive from the town of Odda, which serves as the main base for Trolltunga explorers. You can drive or catch the Odda bus. If you’re coming from Bergen, the drive to Odda takes around 3-4 hours.
You can either do this hike by yourself, or book a guided tour.
There are three main parking lots for hiking Trolltunga, and choosing the right one depends on your vehicle and your plan for the hike. Please note that overnight camping is not permitted, however you can park overnight if you want to sleep at Trolltunga itself.
If you’re traveling by campervan, this is where you’ll need to park. The parking fee is 300 NOK per day. There are 220 parking spots.
From here, you can take a shuttle bus (100 NOK one way) to P2. You can either buy these tickets online in advance, or pay the driver on the bus (by card is possible!) Make sure to check the bus schedule.
Then you can either hike from P2 (27km return) or catch a shuttle bus to P3 (150 NOK one way). This is also available for pre-booking online, and I highly recommended to book in advance. There are two different queues, with booking people getting priority.
If you’re not in a campervan I recommend parking at P2. There are 180 parking spots and it costs 500 NOK per day.
From here you can hike up to P3 to then start the hike, however this will add around an hour each way onto your hike. You’re also walking up an actual road, so it isn’t scenic. Plus the elevation gain is around 400m.
Alternatively you can catch a shuttle bus to P3 (150 NOK one way). This is also available for pre-booking online, and I highly recommended to book in advance. There are two different queues, and people with tickets get priority.
Parking at P3 Mågelitopp is very limited (30 spots) and can only be pre-booked. This usually sells out a week in advance. Before driving up to P3, you must also pay the road toll (NOK 200) in the parking machine at P2 Skjeggedal. Plus parking is 600 NOK per day.
Starting your hike from P3 Mågelitopp will save you 1–1.5 hours each way. Plus the shuttle and bus fees. Although this is a great option, having to pre book means you cannot be flexible with the weather.
P3 is the closest parking lot to the trailhead. From P3, the hike is approximately 10 km (around 3 hours one way), with a steep 400-meter elevation gain at the start (then it’s primarily flat). Parking at P3 costs 600 NOK per day, and has to be booked in advance.
When it comes to taking photos at Trolltunga, just know that it’s super easy, but, requires patience. I arrived at Trolltunga around midday on 5 September and I had to wait about 30 minutes to get my shot. Everyone queues patiently, allowing each group a brief moment on the rock to capture their photos. Since I visited in September, the wait wasn’t too bad, but if you’re visiting during the summer holidays, expect longer wait times.
You can go at any time of day, but if you’re aiming for the golden hour of sunset or the first light of sunrise, you’ll need to camp overnight near the rock formation.
One of the most rewarding experiences of the Trolltunga hike is the opportunity to camp near the iconic rock formation, allowing you to witness an unforgettable sunrise or sunset. There are two main options for overnight stays:
If you want to experience the magic of camping in the wild, you can set up your own tent near Trolltunga. Make sure to bring all necessary camping gear, including a good sleeping bag and a warm layer, as temperatures can drop overnight, even in summer.
Camping at Trolltunga overnight means you will have to pay an overnight parking fee, as well as carry your camping gear.
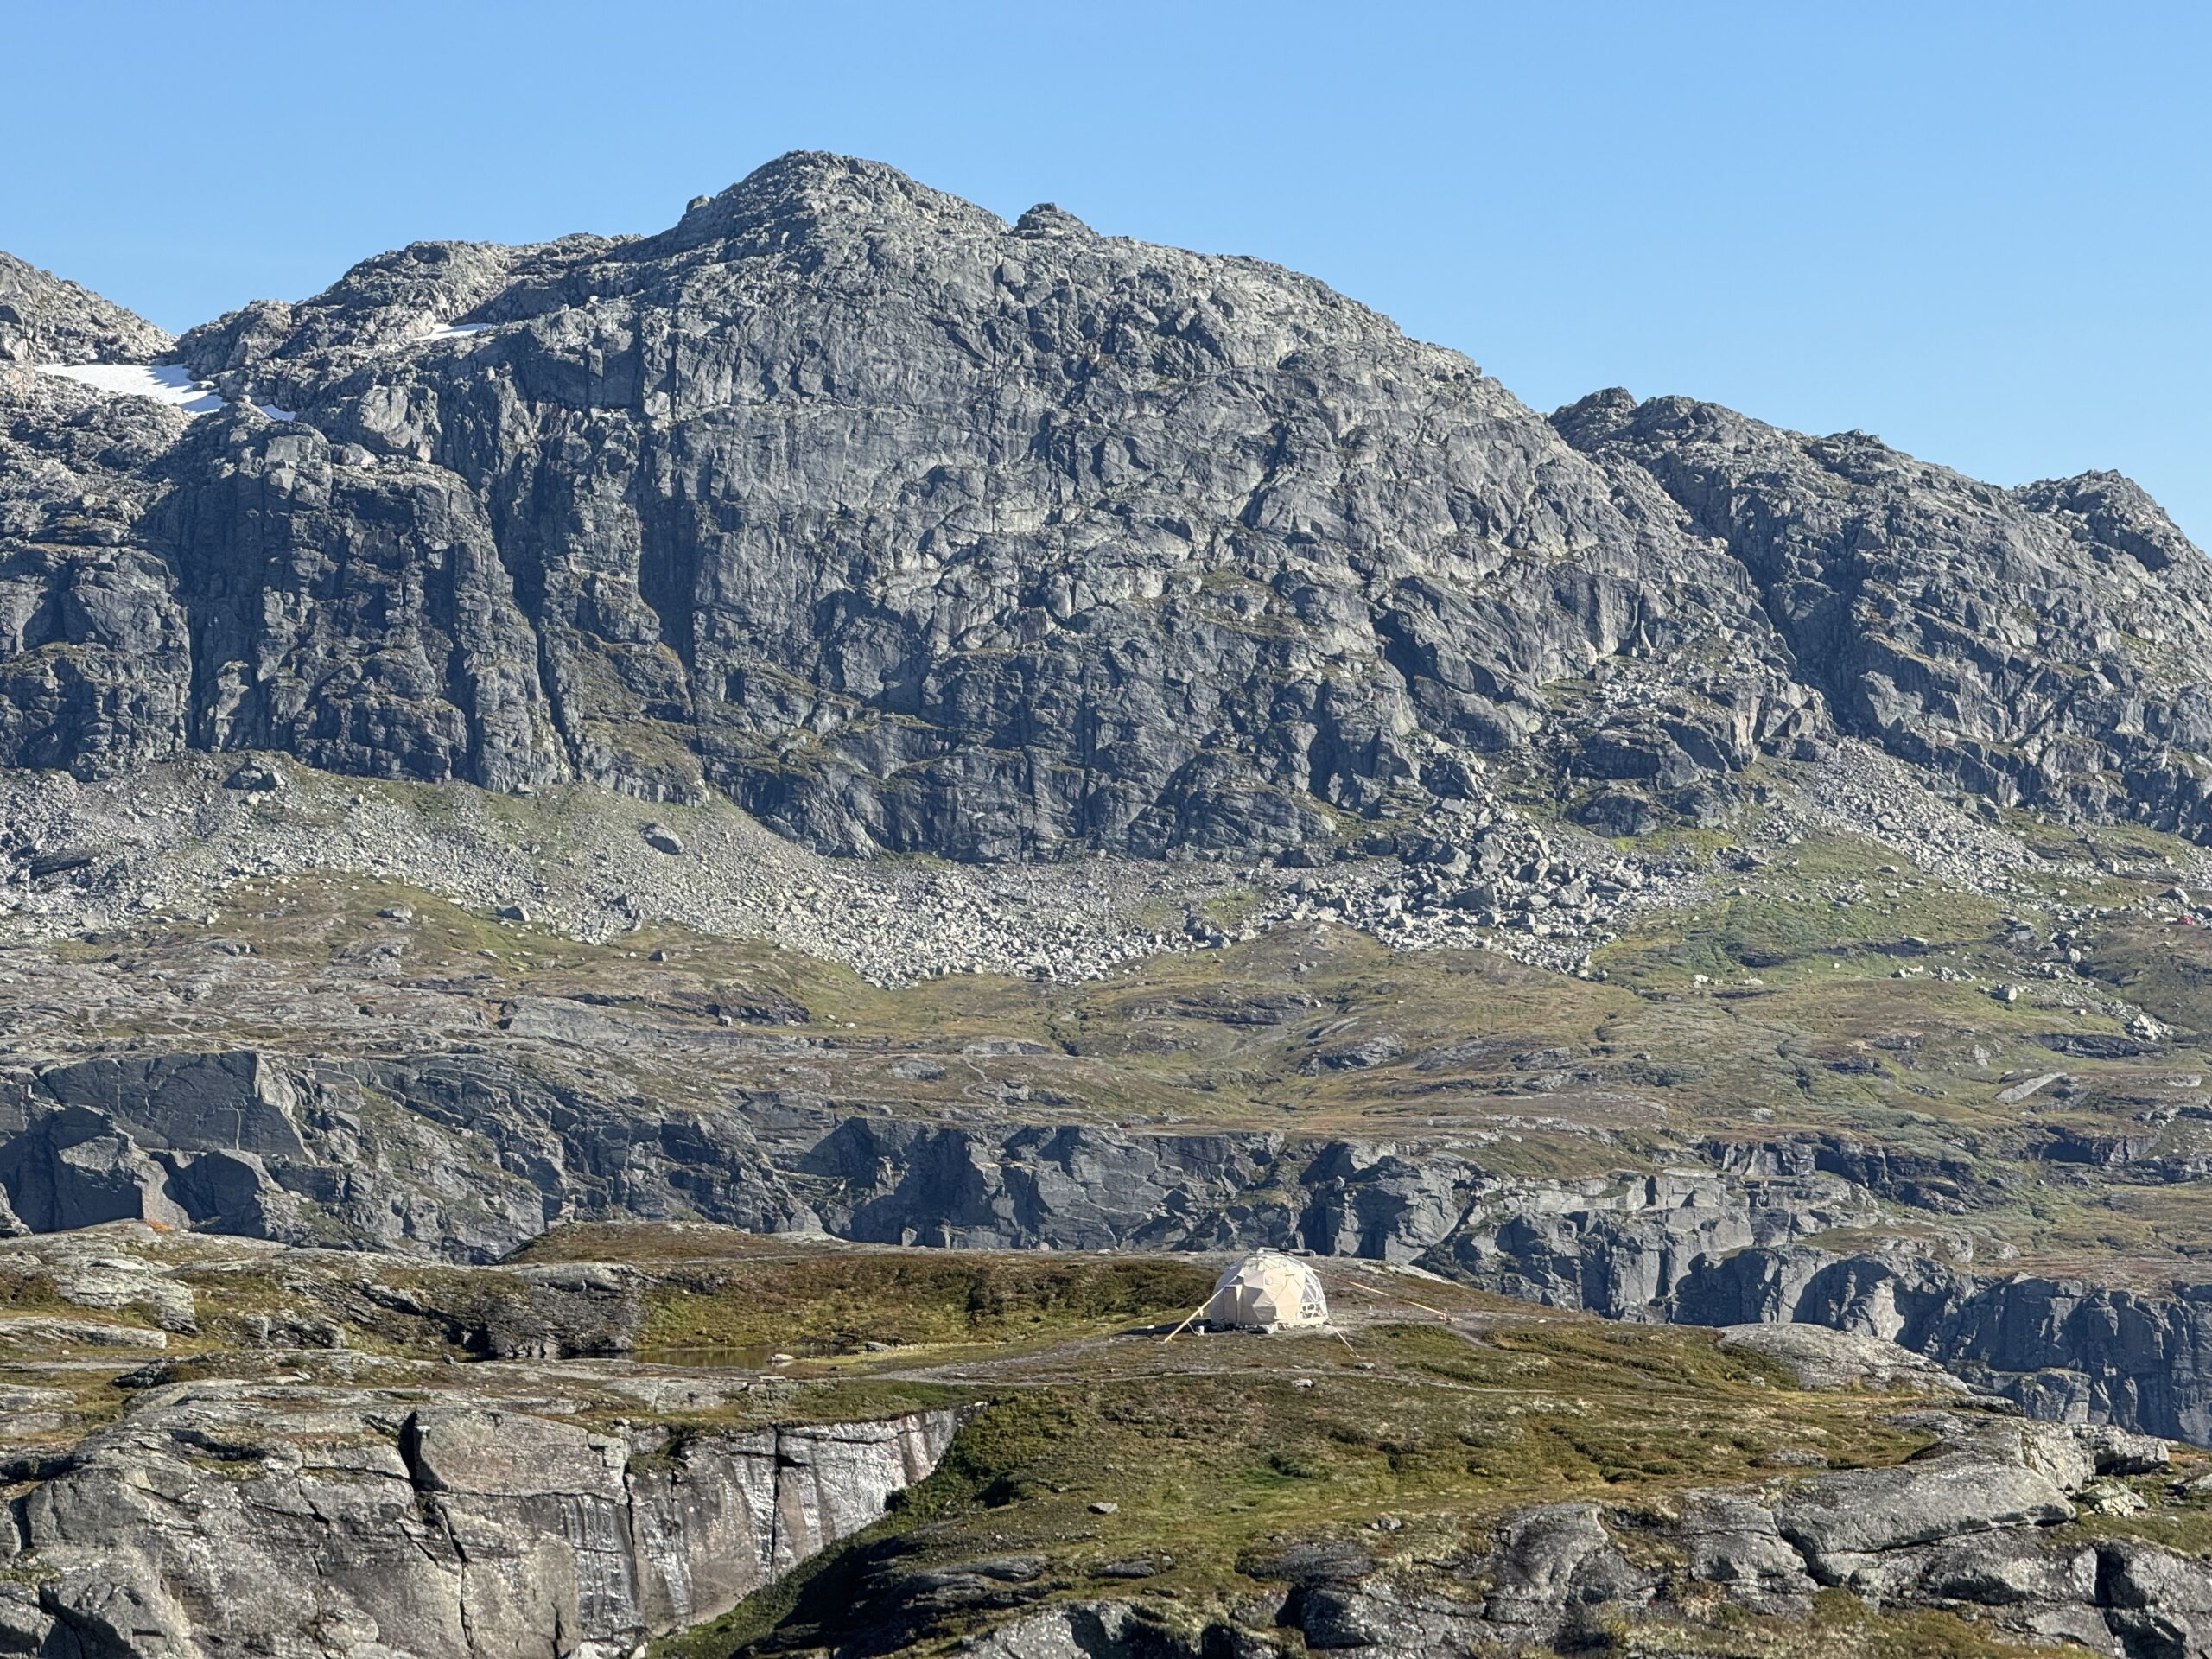
For a more luxurious option, consider staying in one of the glamping tents near Trolltunga. These tents are well-equipped, offering a comfortable place to stay while still being surrounded by the beauty of the Norwegian wilderness.
However it’s only possible to book from June to September for a minimum of 4 people (and they sell out fast!) OR you can book a guided hike in the winter including an overnight stay in an arctic dome.
Wild camping is permitted, but you cannot camp in your vehicle or overnight in a campervan near Trolltunga. There are strict regulations about parking overnight on the streets leading to Trolltunga, and fines can be imposed.
We stayed at a peaceful spot we found using the free park4night app. The location was spacious and tucked away from the no-camping zones along the main road leading to Trolltunga. Here’s the link to the spot we used.
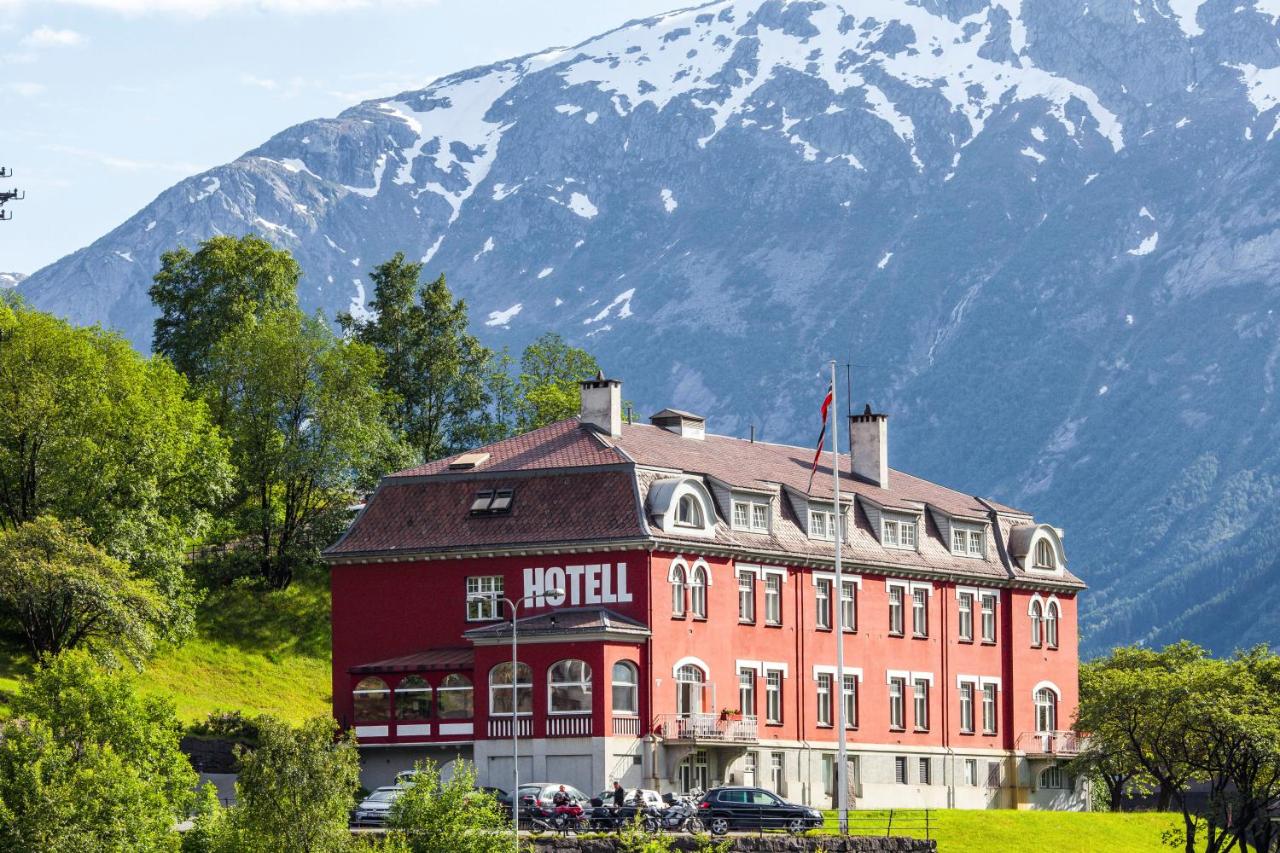
If camping isn’t your style, you can stay in the nearby towns or Tyssedal or Odda, which have a selection of hotels and guesthouses. From here, you can catch a bus directly to the Trolltunga trailhead.
I recommend the Tyssedal Hotel or the Trolltunga hotel.
Yes, you can absolutely hike to Trolltunga without a guide during the summer months, typically from June to September, when the trail is well-marked and accessible. As long as you’re in good physical shape and properly equipped with hiking gear, as well as enough food and water.
However, if you want to add an extra element of adventure, there are also fun guided hikes available in the summer that include cycling and rock climbing. These tours offer a unique experience, combining mountain biking, hiking, and via ferrata climbing, like this full-day guided adventure.
During the winter months, from October to May, the conditions become more treacherous due to snow, ice, and shorter daylight hours. In these months, it’s highly recommended to book a guided tour for your safety. Experienced guides provide essential gear and expertise to navigate the challenging winter landscape safely.
For those starting their journey in Bergen, the drive to Trolltunga takes around 3-4 hours, passing through scenic fjords and picturesque landscapes. Renting a car or camper is the most efficient way to get from Bergen to Trolltunga, especially if you’re planning to explore other nearby attractions.
Personally I road tripped around Norway in a campervan, however it is possible to do by public transport. You can either get a bus or a train and bus to Odda. From Odda you can get a bus to parking 2.
The Trolltunga hike is undoubtedly challenging but equally rewarding. With its dramatic scenery, high-altitude views, and the iconic rock formation itself, it’s an adventure you’ll never forget.
Personally I recommend parking in P1 or P2 (depending on if you have a campervan or not) or staying in Odda and getting the bus form there. This way you can be more flexible with the weather (as P3 parking will sell out around a week in advance).
Whether you choose to camp under the stars or stay in a cozy hotel in Odda, the experience of standing on Trolltunga is worth every step!
Happy hiking!
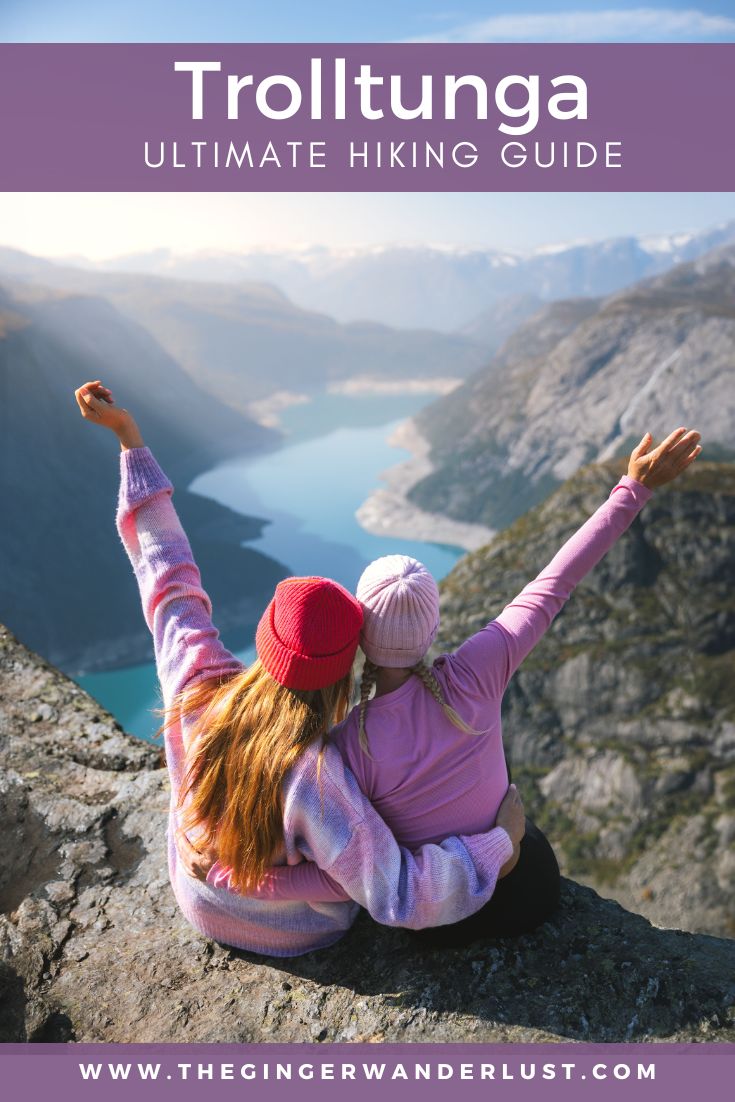
Like this post? Pin it to save for later!
Travel has always been one of the biggest priorities in my life, so even though…
This year, I decided to challenge myself to try more new things, and when I…
If you’re dreaming of a true Australian adventure, look no further than the Northern Territory.…
Diamond Beach in Iceland is a breathtaking wonder where glistening icebergs meet the black volcanic…
I first visited Reykjavik in 2016 and instantly fell in love with its charm and…
If you're dreaming of a scenic Spain road trip filled with stunning nature, rich history,…