Do you have a DSLR camera? Do you prefer to use the landscape or night mode (or whatever option) instead of taking time fiddling about with manual? Do you wish your photos looked better? Then you’ve come to the right place!
The secret to your photos looking better = correctly using Manual!
The good news is that once you know how it’s so easy – and in general once you set it up for a particular shot, you’ll be able to take photos with similar lighting so you won’t have to be continuously changing it anyway!
1) Firstly you’ve got to understand the 3 main parameters.
These are:
– ISO
– Shutter speed
– Aperture (f)
2) Secondly you need to know that these 3 parameters work as a sort of triangle.
Each mode affects the amount of light entering the lens so if you decrease one you will need to change another.
Just imagine that you have three lamps and all are turned off, this means you will have no light, if all are turned on you will have a lot of light! You just need to know/remember how the different parameters let light in.
3) Shutter speed
The lower the number the slower the shutter speed and thus the more light that enters.
A good rule for knowing the minimum speed to use whilst hand-holding your camera is 1/length of lens, so with a 30mm lens you can hold it at 1/30 sec but with a 100mm lens you need speed no less than 1/100 (unless you have image stabilisation).
If you want to take photos at night you will need to go lower (especially if you want to make the stars look bright or catch the movement of car lights) in which case you’ll need a tripod.
When you’re outside during the day you can have the number at a higher setting to let in less light.
If however during the day you wish to capture movement of say a waterfall, you will need a low shutter speed (ideally bring a tripod with you). Please see below.
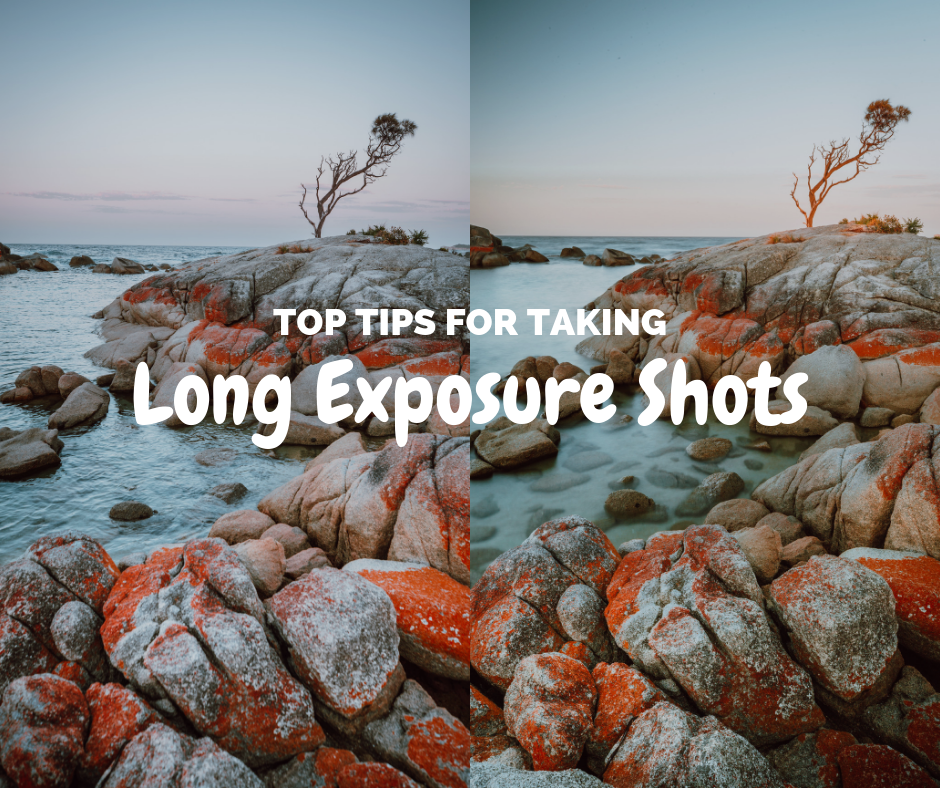
A shutter speed of under a second is considered a long exposure shot, find out my top tips on how to take long exposure photos.
Shutter speed: 1/125 ISO: 200 Aperture: f2.5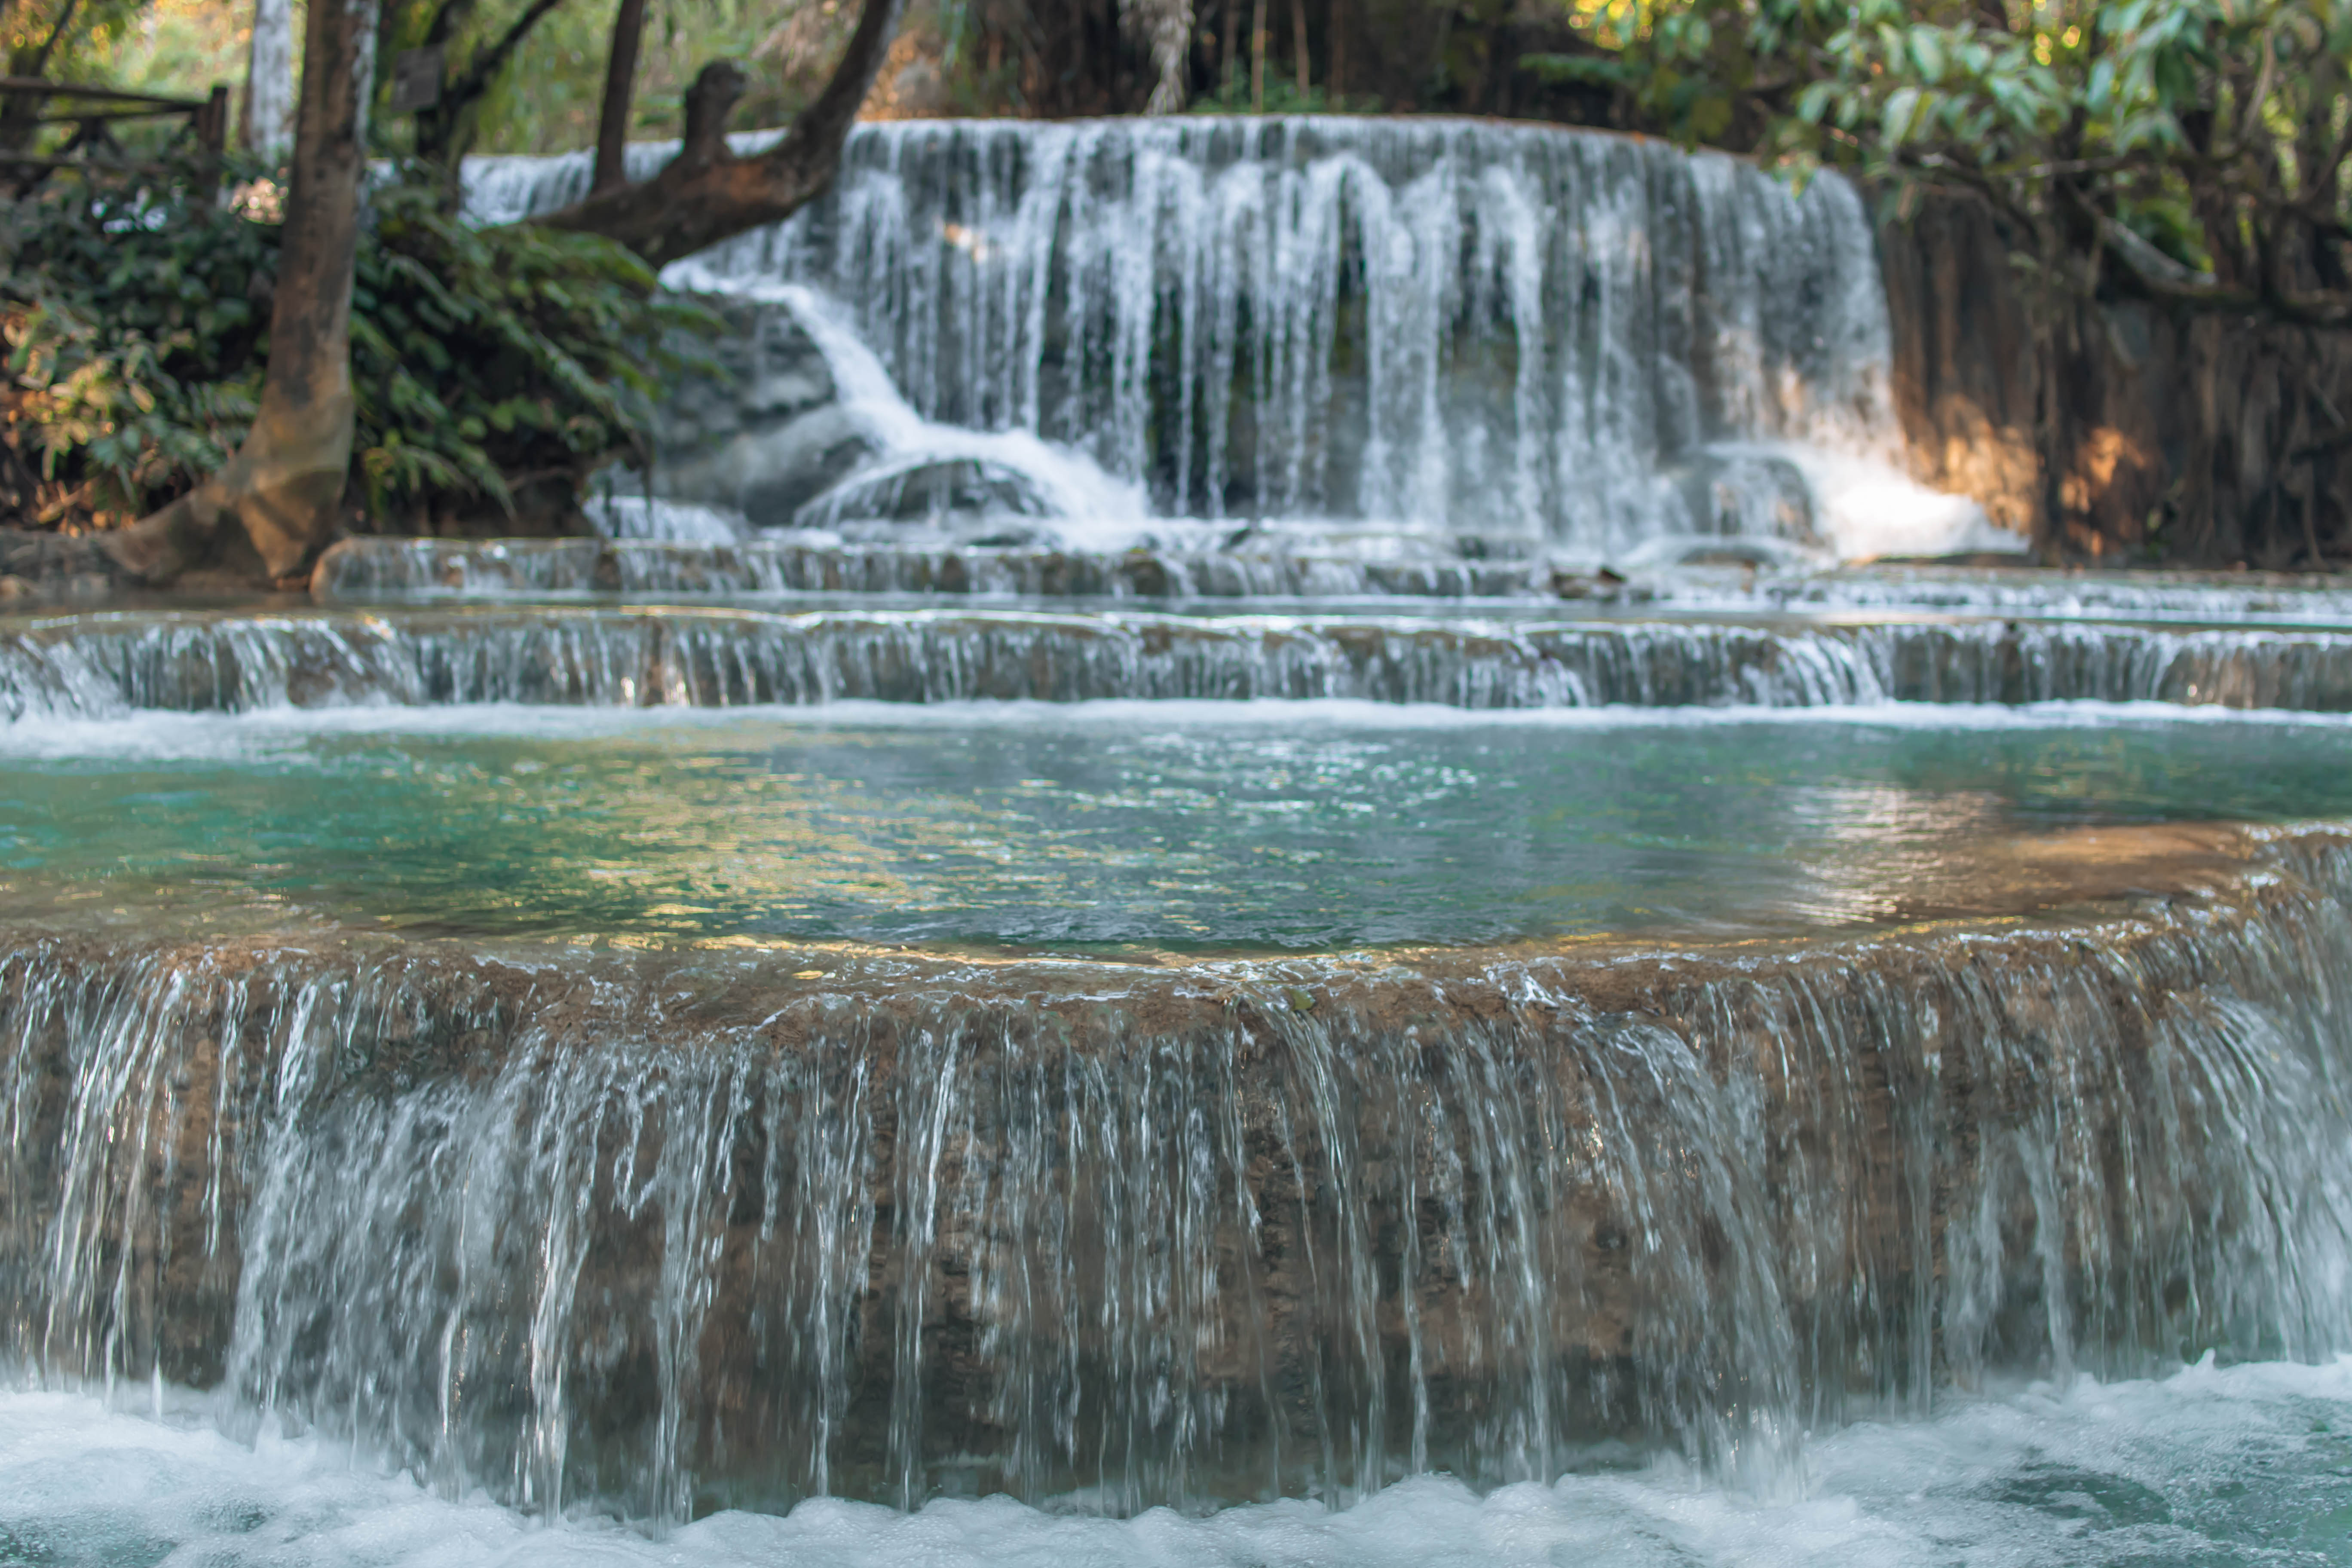
Shutter speed: 1/15 ISO: 320 Aperture: f/10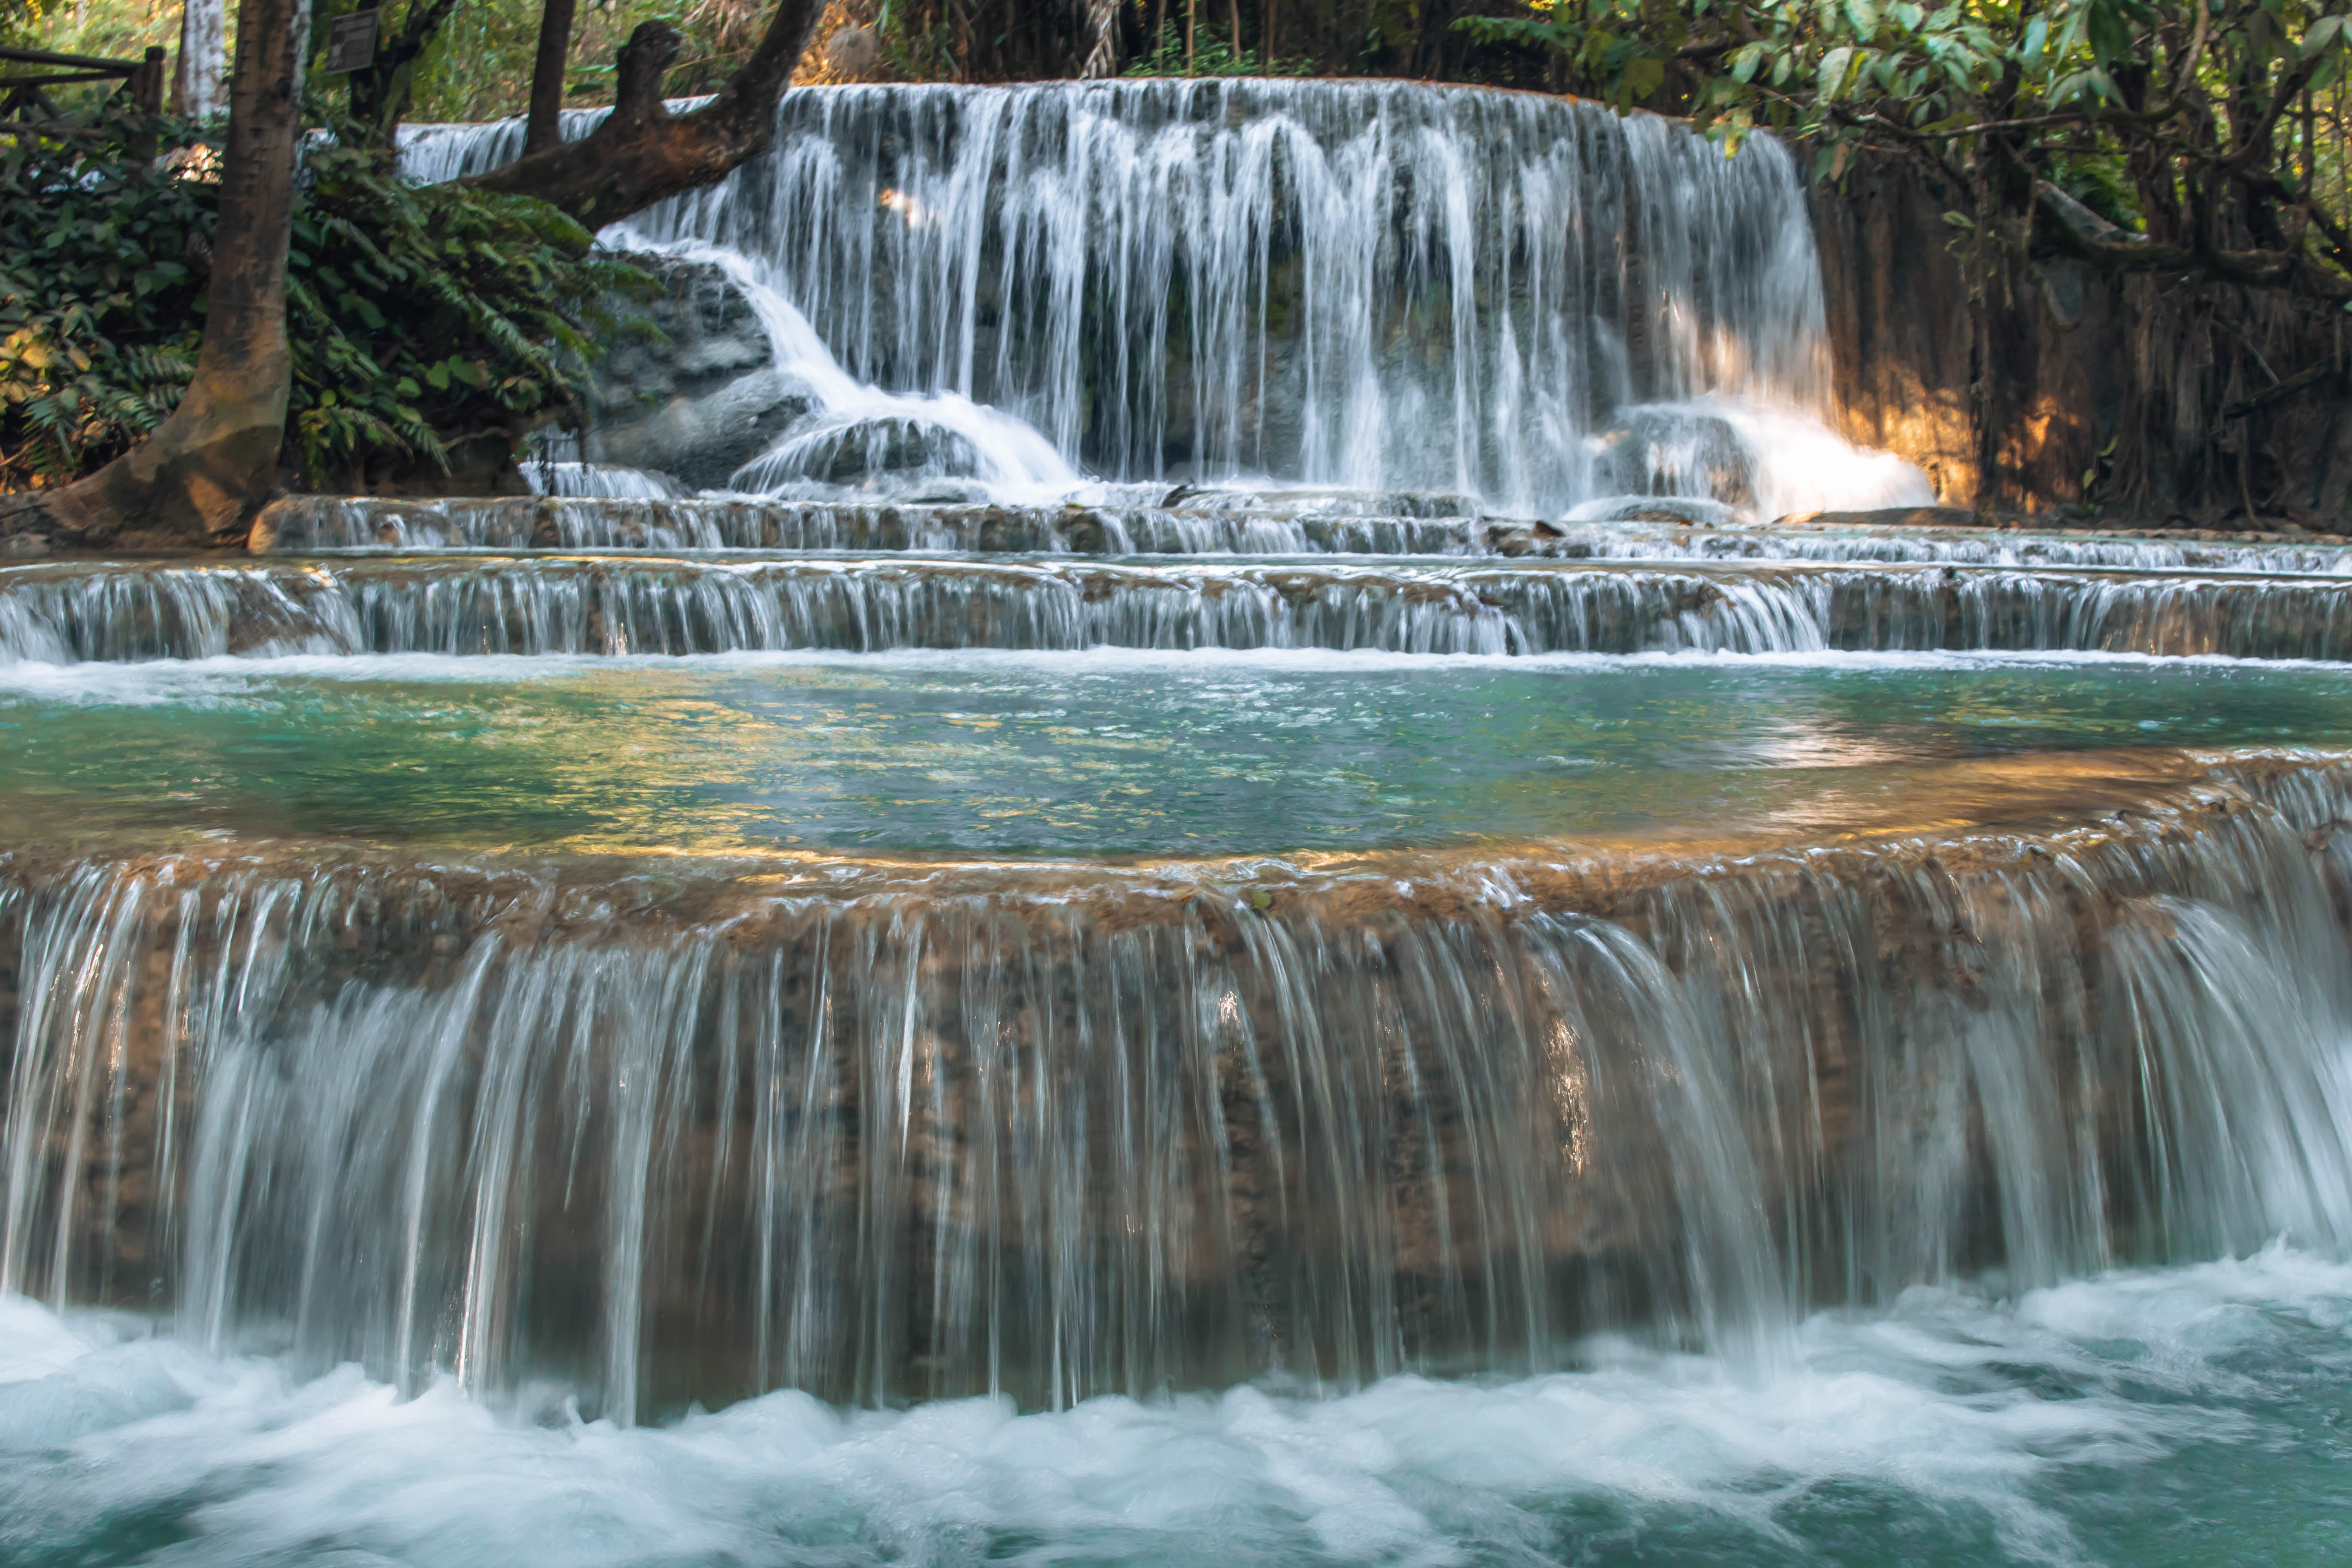
As you can see just a difference of 1/100 shutter speed makes a huge difference to the movement of water I was able to capture.
4) Aperture
The Aperture is the size of the hole in the lens which allows light in. The wider the opening the more light that can enter for each exposure. The smaller the opening, or narrower the aperture, the less light you let in.
A narrower aperture (high number) means that more of your photo will appear to be in focus – so great for landscape shots.
A wider aperture (lower number) means less of the photograph will be in focus – so perfect for portraits where you want the background blurred.
See the photos below for a contrast between a wide aperture (bottom) and a narrow aperture (top).
Shutter speed: 1/30 ISO: 2000 Aperture: f/10 (grainy as the ISO is high)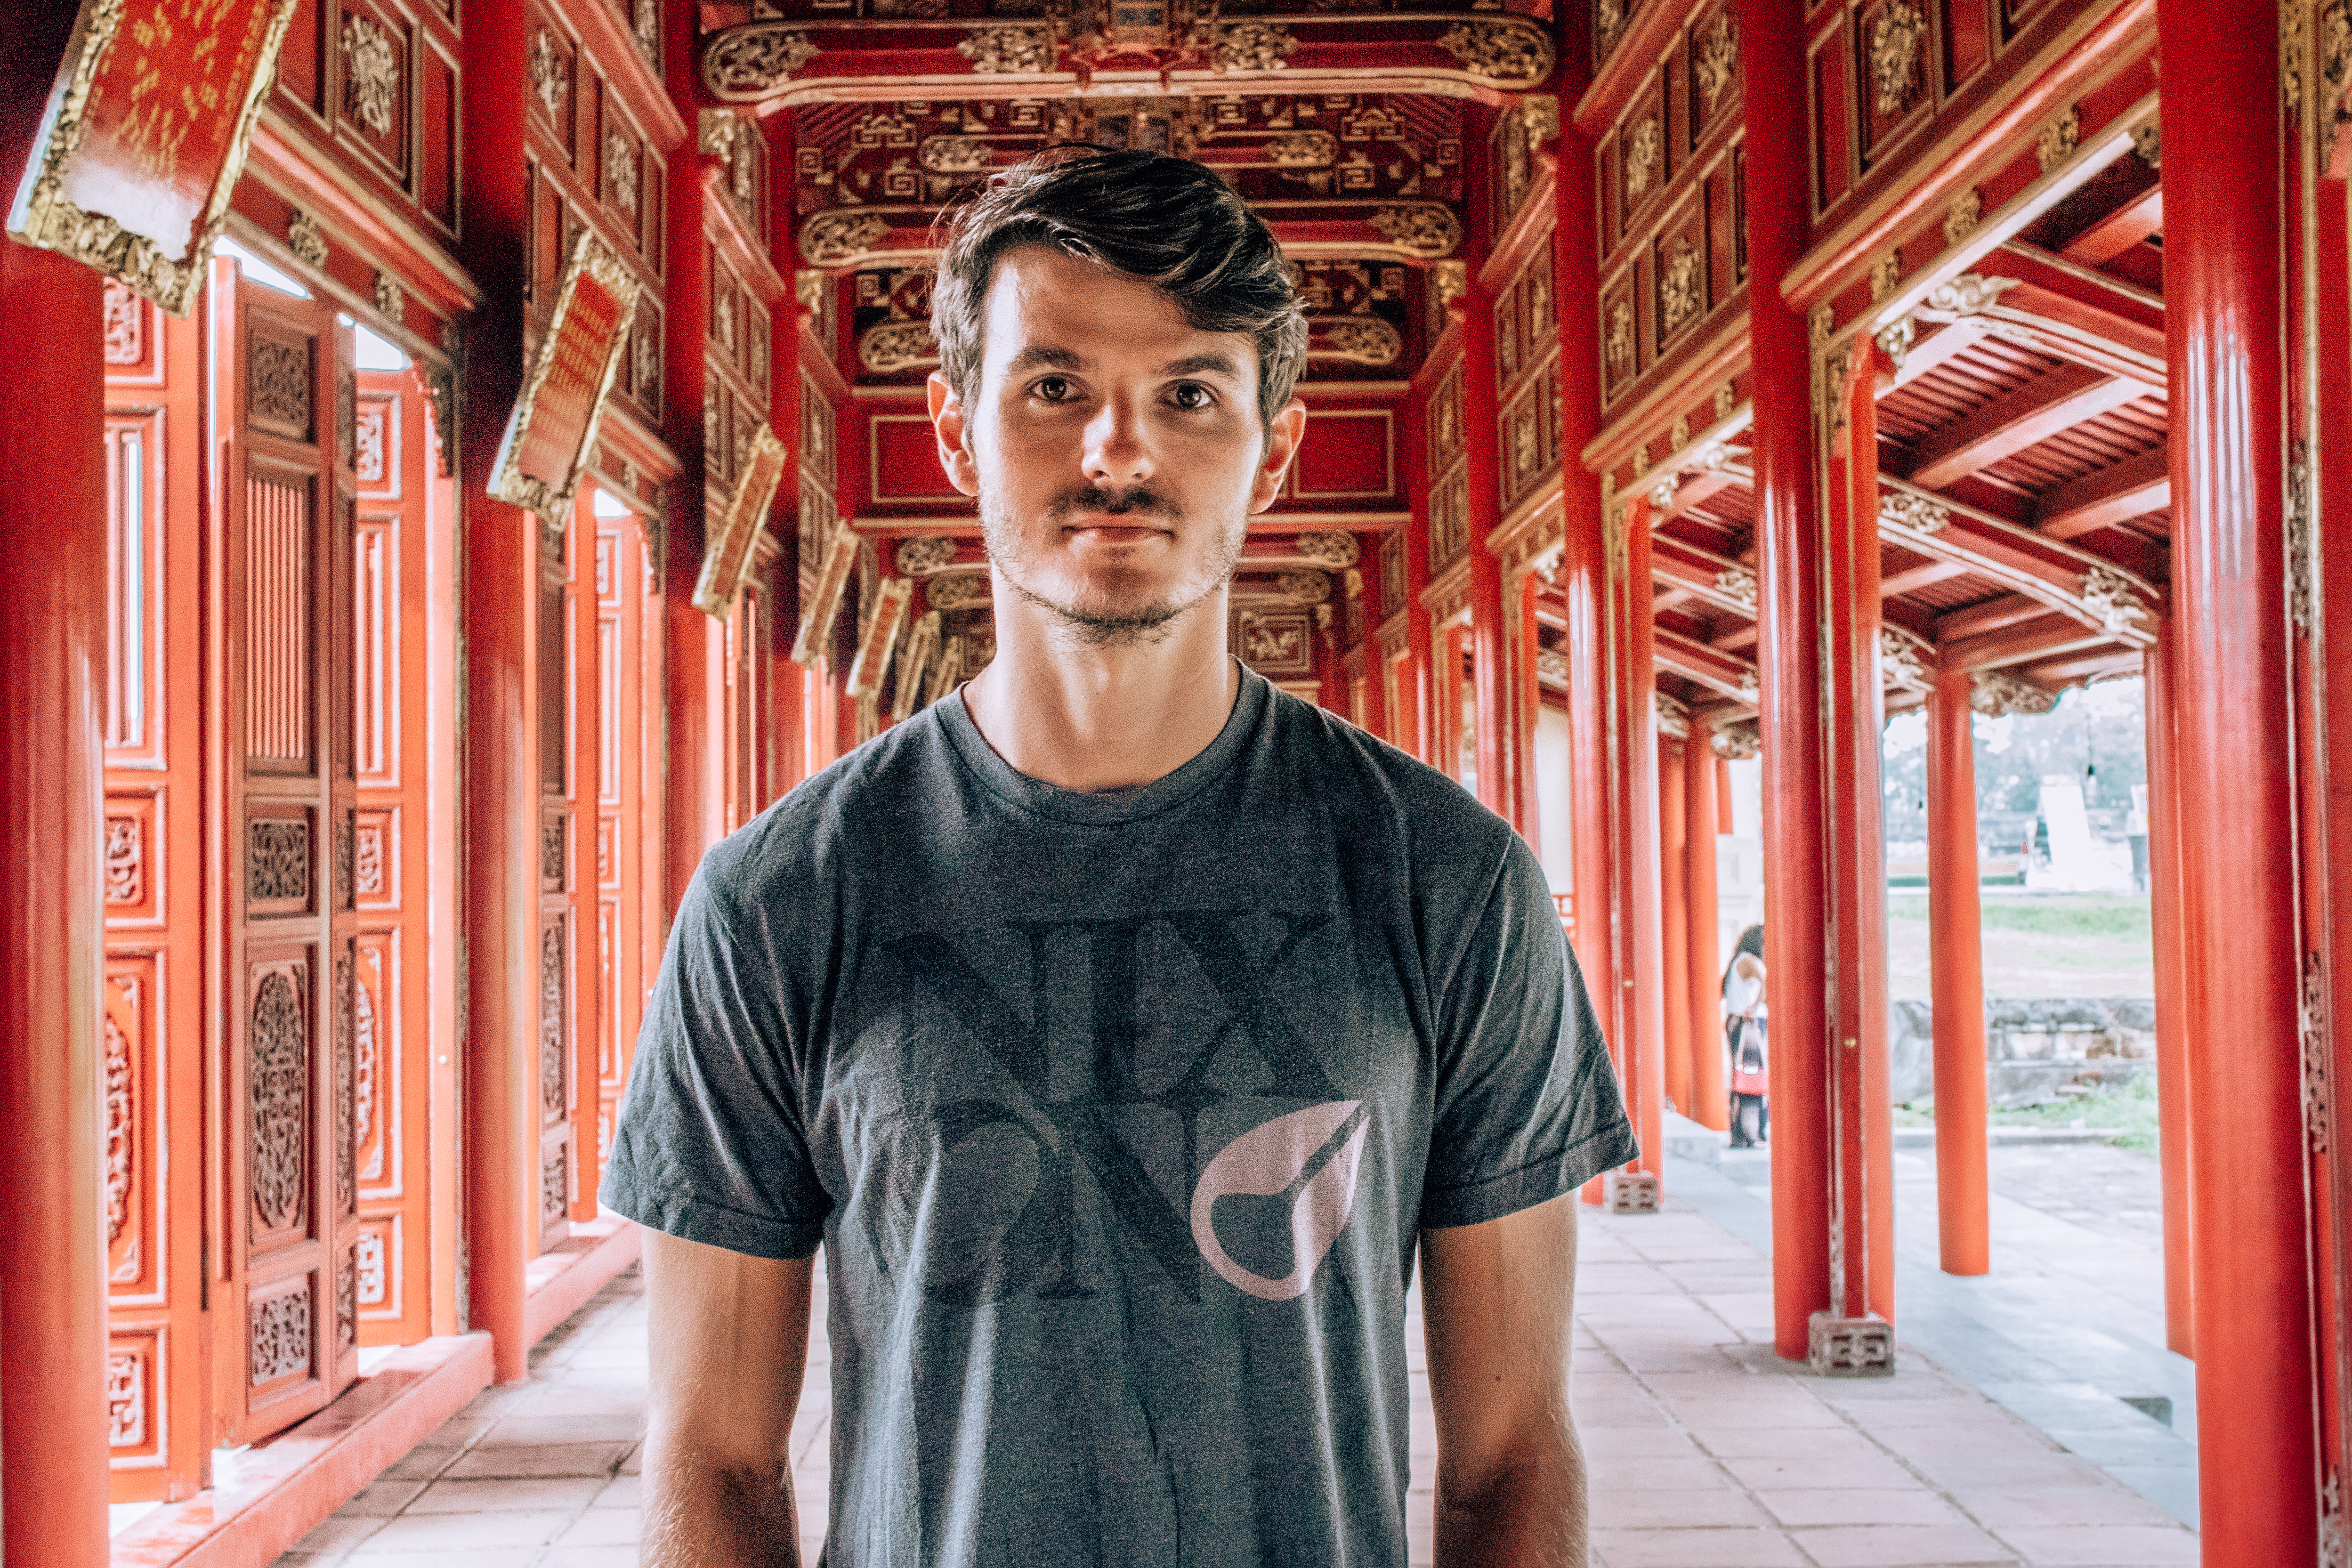
Shutter speed: 1/125 ISO: 400 Aperture: f/1.4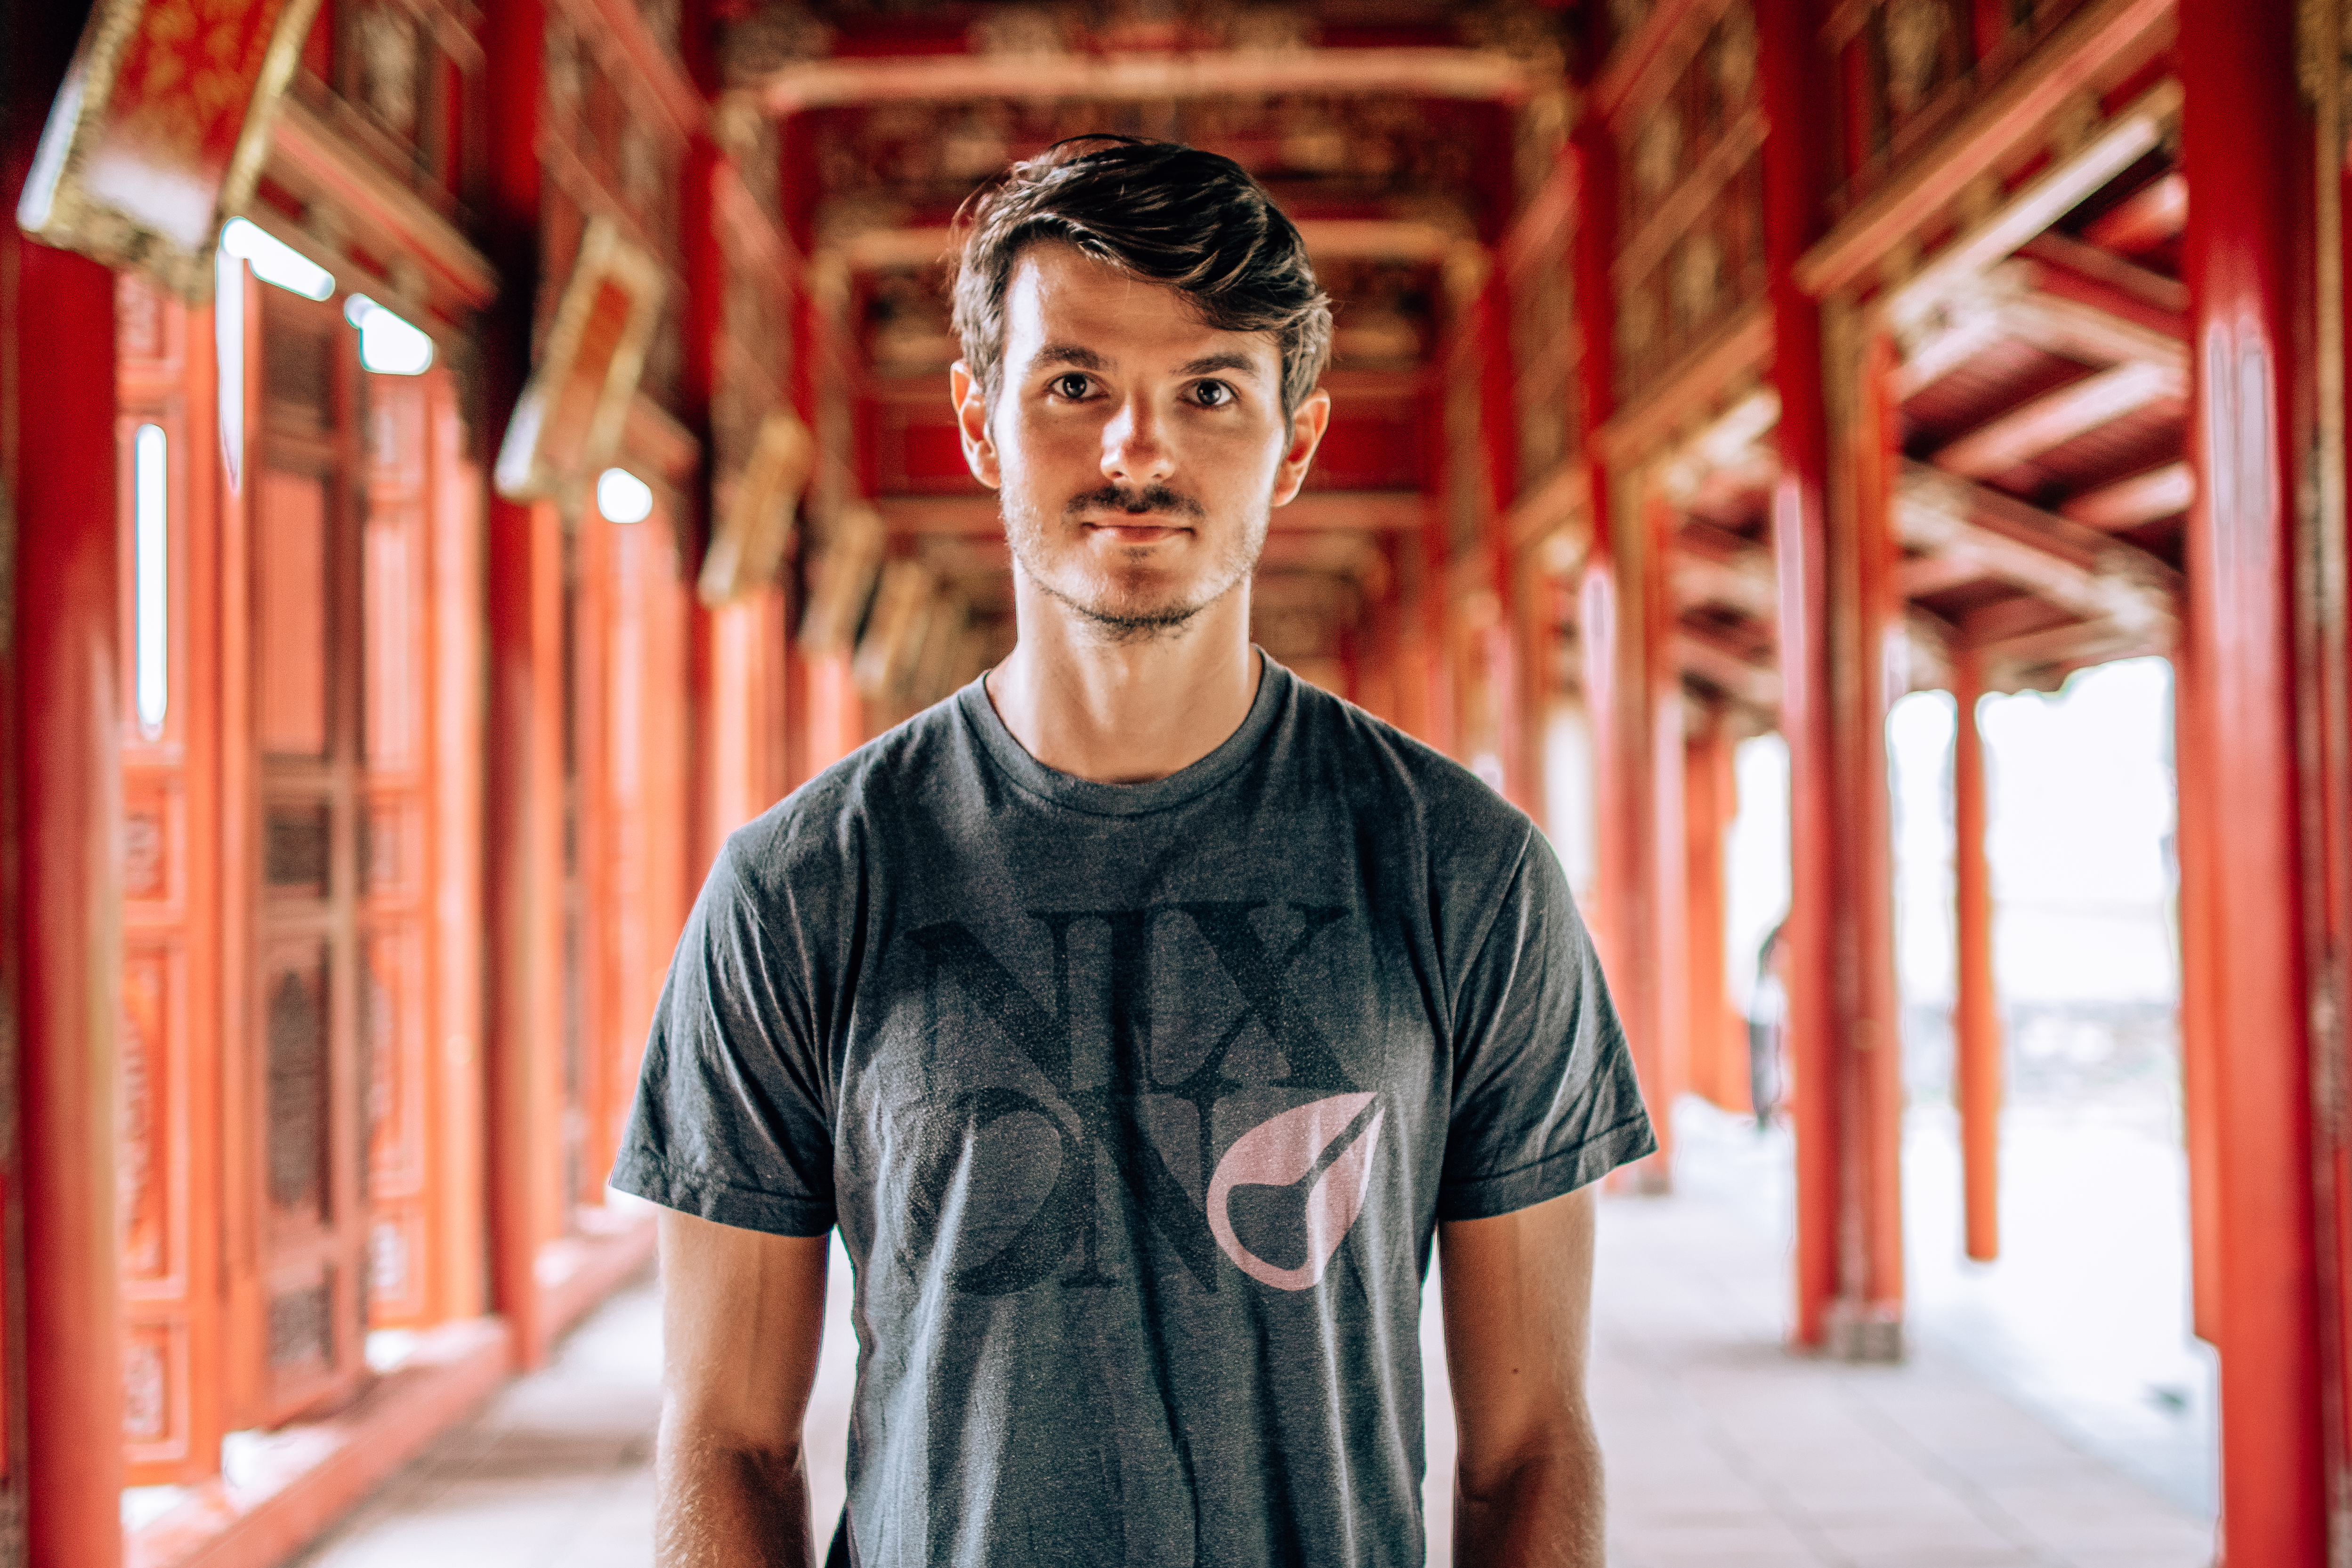
Aperture is represented in f-stops. A lower number, like f/1.8, denotes a wider aperture, and a higher number, like f/22, denotes a narrower aperture.
The lower the number, the wider the aperture and the shallower the depth of field – the aperture in which your camera can go will depend on your lens. Lenses are generally marked with their widest possible aperture. Some lenses will range between apertures depending on how zoomed in you are – the more zoomed in you are the less likely you are to be able to have a low aperture.
The point at which the background will be blurry will depend on 2 things:
- The lens – I usually shoot at around f/2.8, but a lot of lenses will be capped at f/4.
- The distance between the object you are taking a photo of to yourself and the background (the greater the distance the more likely the background will be blurry at a higher f stop). For example the below photo was taken at f/5.6, as the object is in close proximity to the camera with the background further away I was still able to get a blurry background.
Shutter speed: 1/125 ISO: 200 Aperture: f/5.6
I shoot with a Sigma 30mm lens that goes down to an aperture of 1.4 and I LOVE it!
5) ISO
ISO is the digital equivalent to film speed. If you ever bought film for a regular camera, you will remember getting 100 or 200 for outdoors and 400 or 800 for indoors. The faster the film speed the more sensitive it is to light.
The lower the ISO the less light that enters the camera but the more accurate the light captured is.
Generally I would always try to keep the ISO as low as possible as high ISO = lots of noise (grain). But this might not be possible if you want to shoot at night without a tripod. Luckily when editing you can reduce noise.
6) The light triangle
Now that you know the 3 main parameters that affect your photo lets have a think about how they are linked.
When you are taking a photo you should think about what your priority is.
- Are you taking a photo of a moving object? In which case you need to focus on the shutter speed (and then change the ISO and aperture to fit the light of the environment that you’re in).
- If you want a blurred background you want to concentrate on the aperture (and change the shutter speed and ISO).
- If you want a correct representation of the light you want to set the ISO as low as possible (and then change the shutter speed and aperture accordingly).
- Are you shooting at night? The settings will differ depending on if you’re doing a long exposure shot or a portrait.
If you’re taking pictures inside, make sure to check out my indoor photography tips.
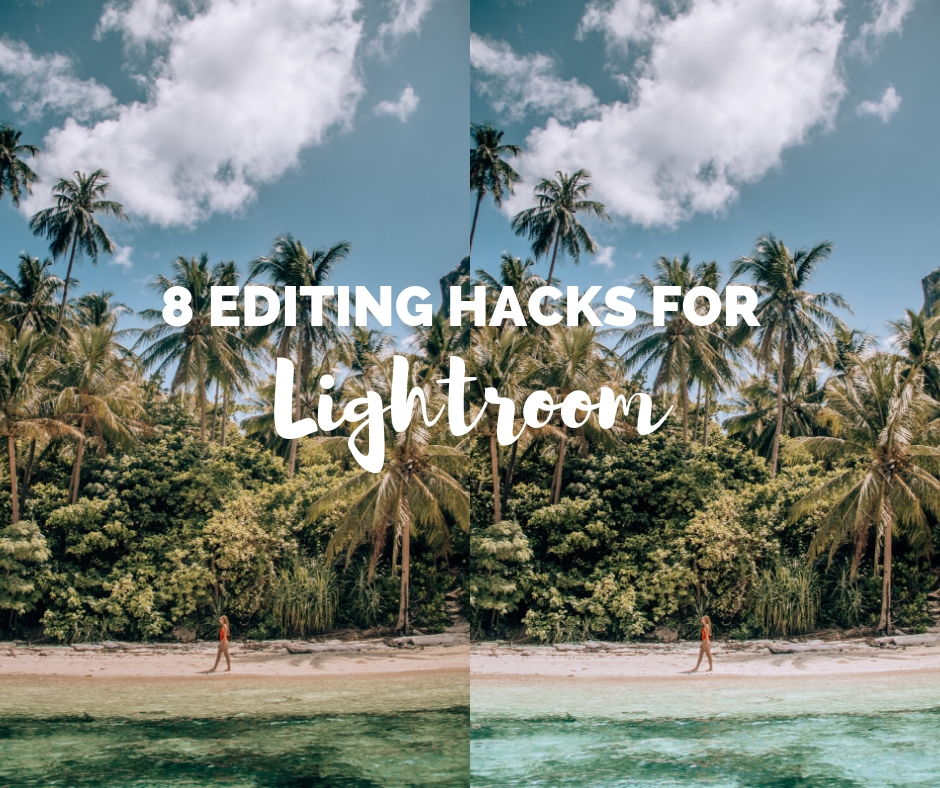
Now that you are clued up on shooting in manual, check out my ultimate guide to editing on Lightroom!
Like this post? Pin it to save for later!


9 Comments
flamingoaround
March 9, 2018 at 1:24 pmAmazing post. It took me a while to learn manual mode but now it is totally worth it
The Ginger Wanderlust
March 9, 2018 at 2:26 pmThanks so much! and it so is! Took me a while too as sometimes it was just easier to switch to AV especially when in a rush, but being in charge of the pic is just awesome!
Sol - @themomentbehind
March 10, 2018 at 1:39 pmThis is awesome Ellie!! My camera is mirrorless as opposed to DSLR but it’s got manual mode and can interchange lenses. If you ever consider doing a post on different lenses i’d Be up for that! ??
SometimesIVacay
August 14, 2019 at 2:28 pmYes! I also have a mirrorless camera (Sony a6000) but can change the lenses and operate in manual mode. I’m loving learning about it.
The Ultimate Guide to Editing on Lightroom – The Ginger Wanderlust
June 28, 2018 at 11:30 pm[…] First things first, when editing know that a RAW image carries more information than a JPEG, thus you will have a better quality image in the end. I also always shoot in manual so I have control over the settings, to find out more about how to use manual on a DSLR click here. […]
6 Must Have Lenses for DSLRs – The Ginger Wanderlust
August 17, 2018 at 11:04 am[…] If you want to learn more about camera settings, check out my guide to manual photography. […]
Step by Step Beginners Guide to Setting up and Flying Your Drone - The Ginger Wanderlust
October 30, 2018 at 9:34 am[…] camera onto manual and updating the settings (you only need to change the ISO and Shutter Speed), learn more about manual mode. I found the automatic to be way too over exposed, so I always shoot manual. You can even set this […]
Svetlana
November 21, 2018 at 7:40 pmSuch a helpful post! Concise and I loved the examples, thank you for putting in the time to expain it! I’ve had Nikon DSLR for a while, but never learnt how to use manual. I think it’s time!
Top Tips for taking Long Exposure Shots - The Ginger Wanderlust
March 22, 2019 at 7:29 am[…] First things first in order to shoot long exposure shots you need to understand how to work the manual mode on your DSLR camera. […]